Polyphonic Guitar
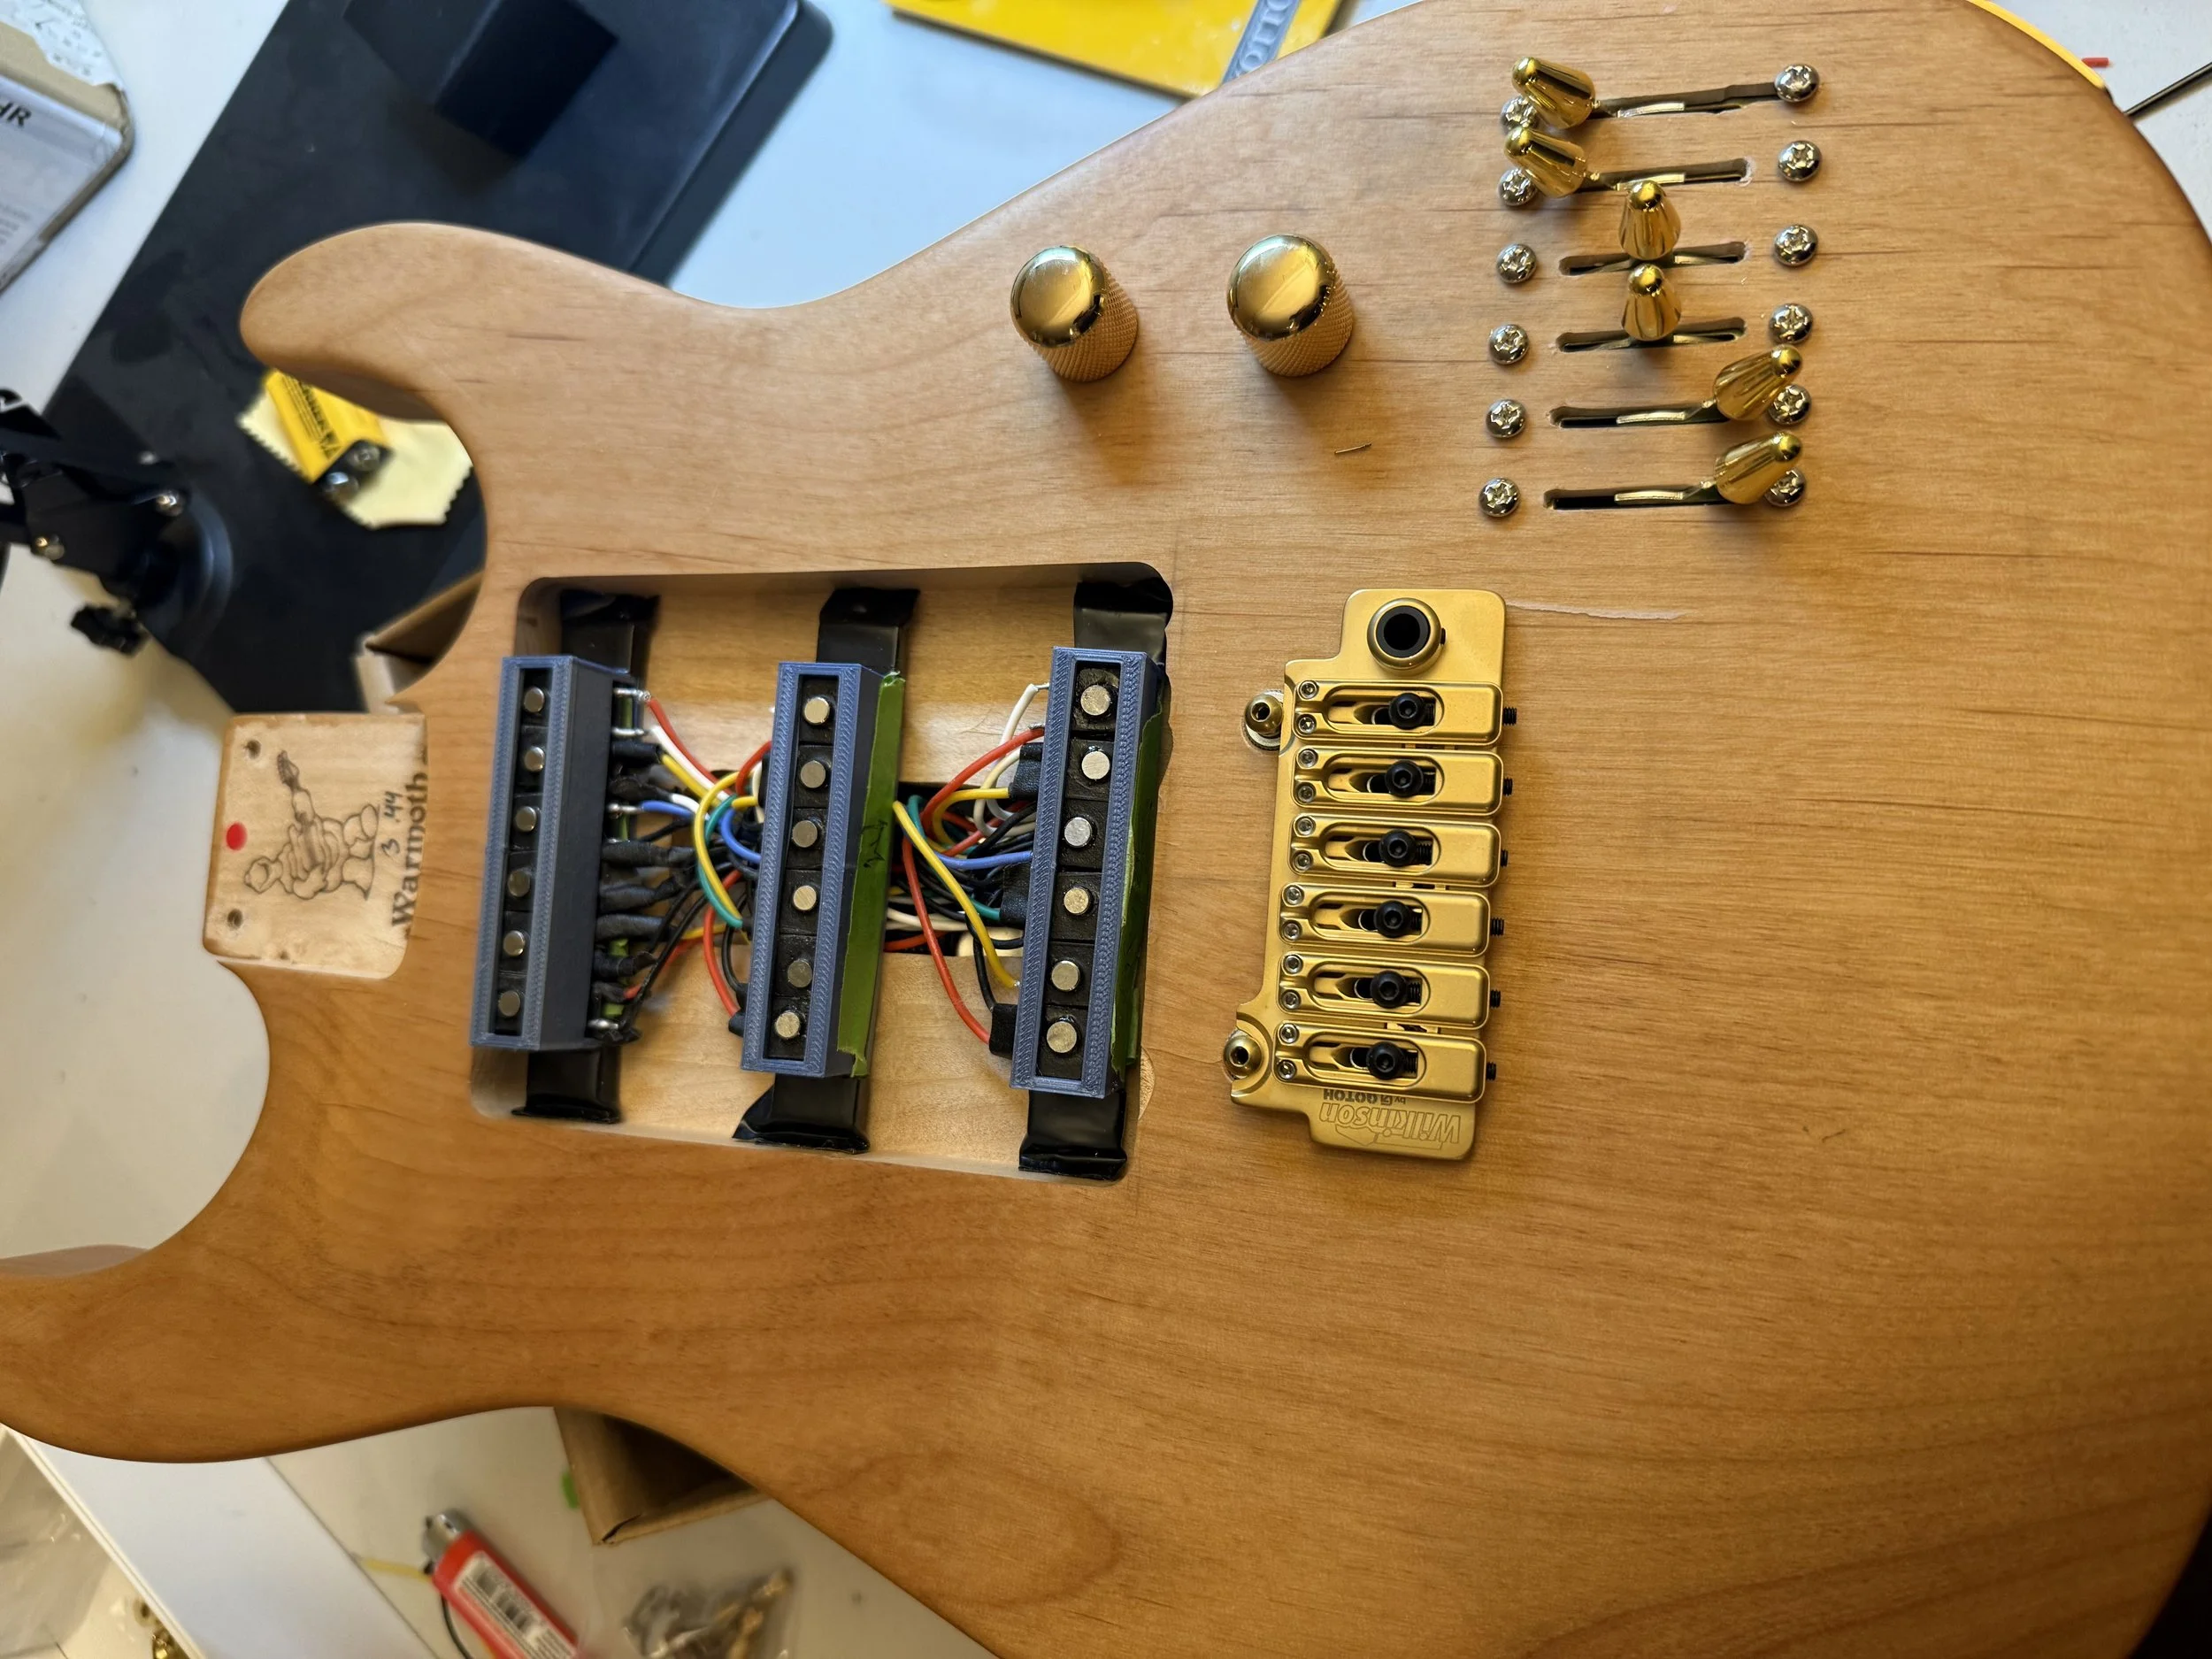
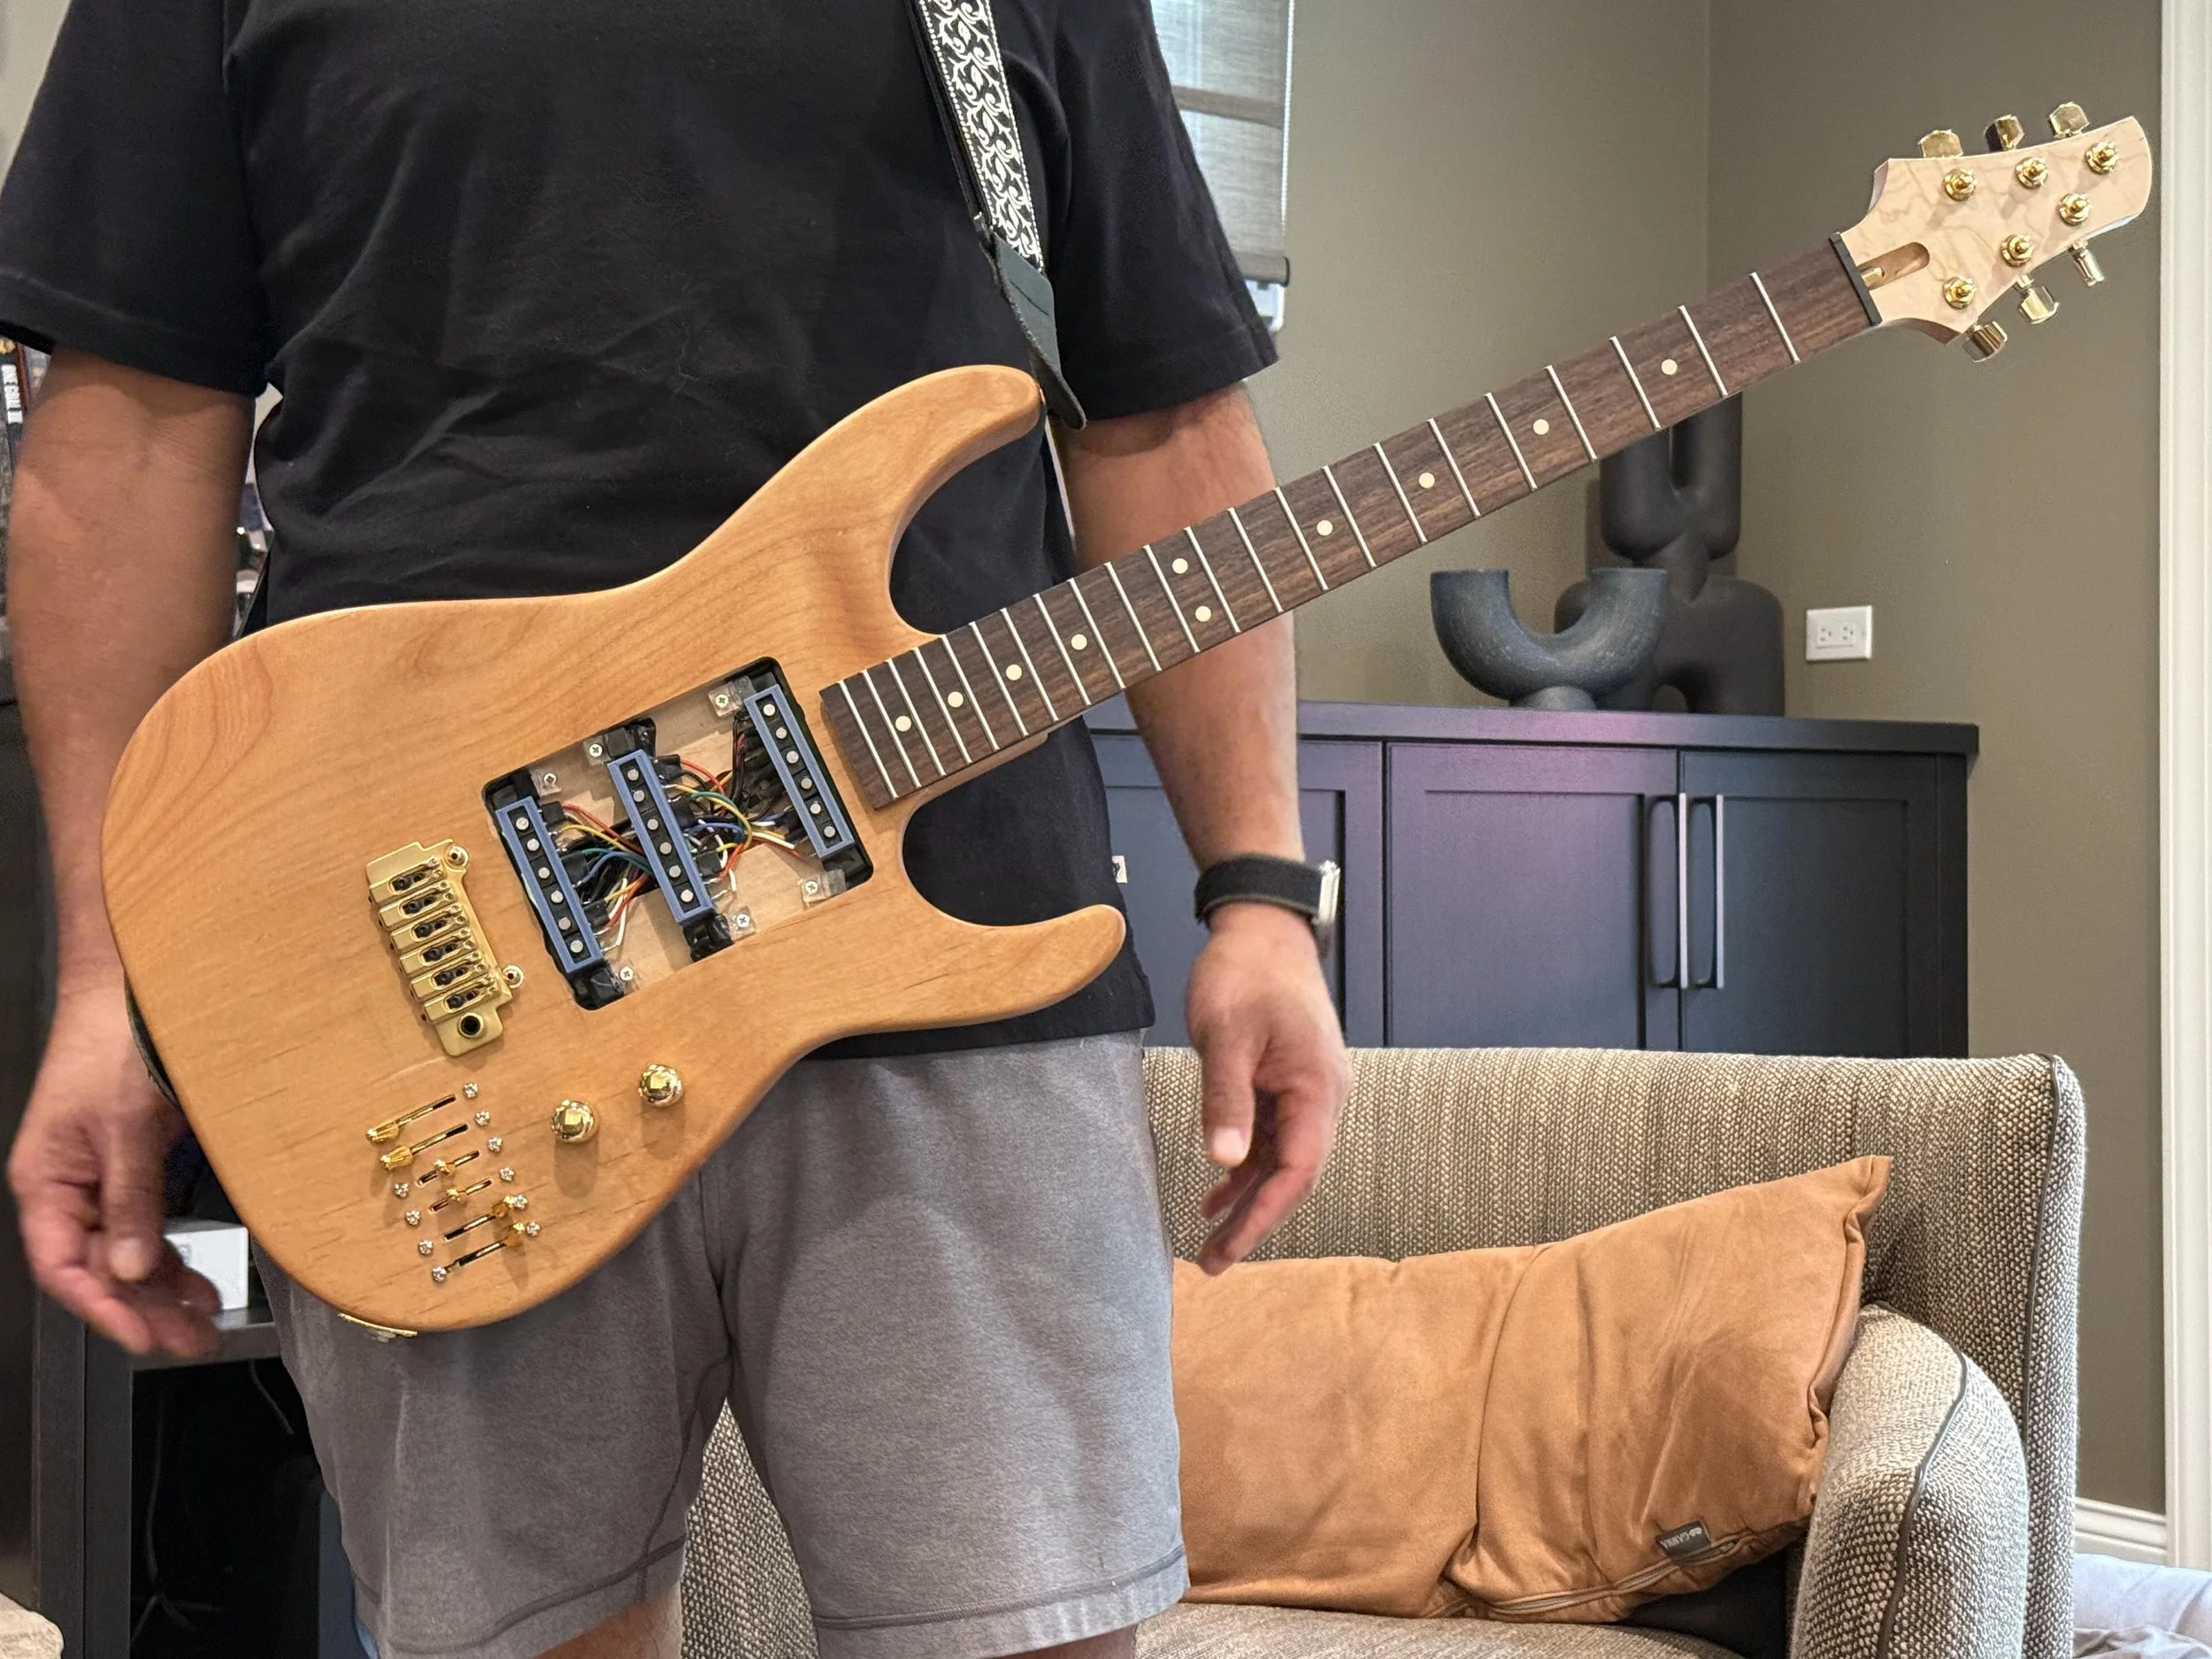
Instead of having traditional pickups that span all six strings, the polyphonic guitar places six single-string pickups in a row underneath each string, allowing each string's signal to be processed independently. The easiest benefit of this design to realize is that each string can have its own pickup switcher, allowing the low E and A strings to be on the neck while the higher strings are simultaneously on the bridge. Per-string pickup selection lets you balance tonal differences at the source.Part i: Building the Pickup Winder
The fundamental building block of this design is the single-string pickup, which traditional pickup winders cannot make. So before anything else, we had to design a custom single-string pickup winder. This machine ran on a DC power supply and a 12V DC motor. A magnetic counter was utilized to standardize each pickup to a precise 6,000 turns, and couplers to mount the pickup were 3D printed or fashioned out of wood and plastic.
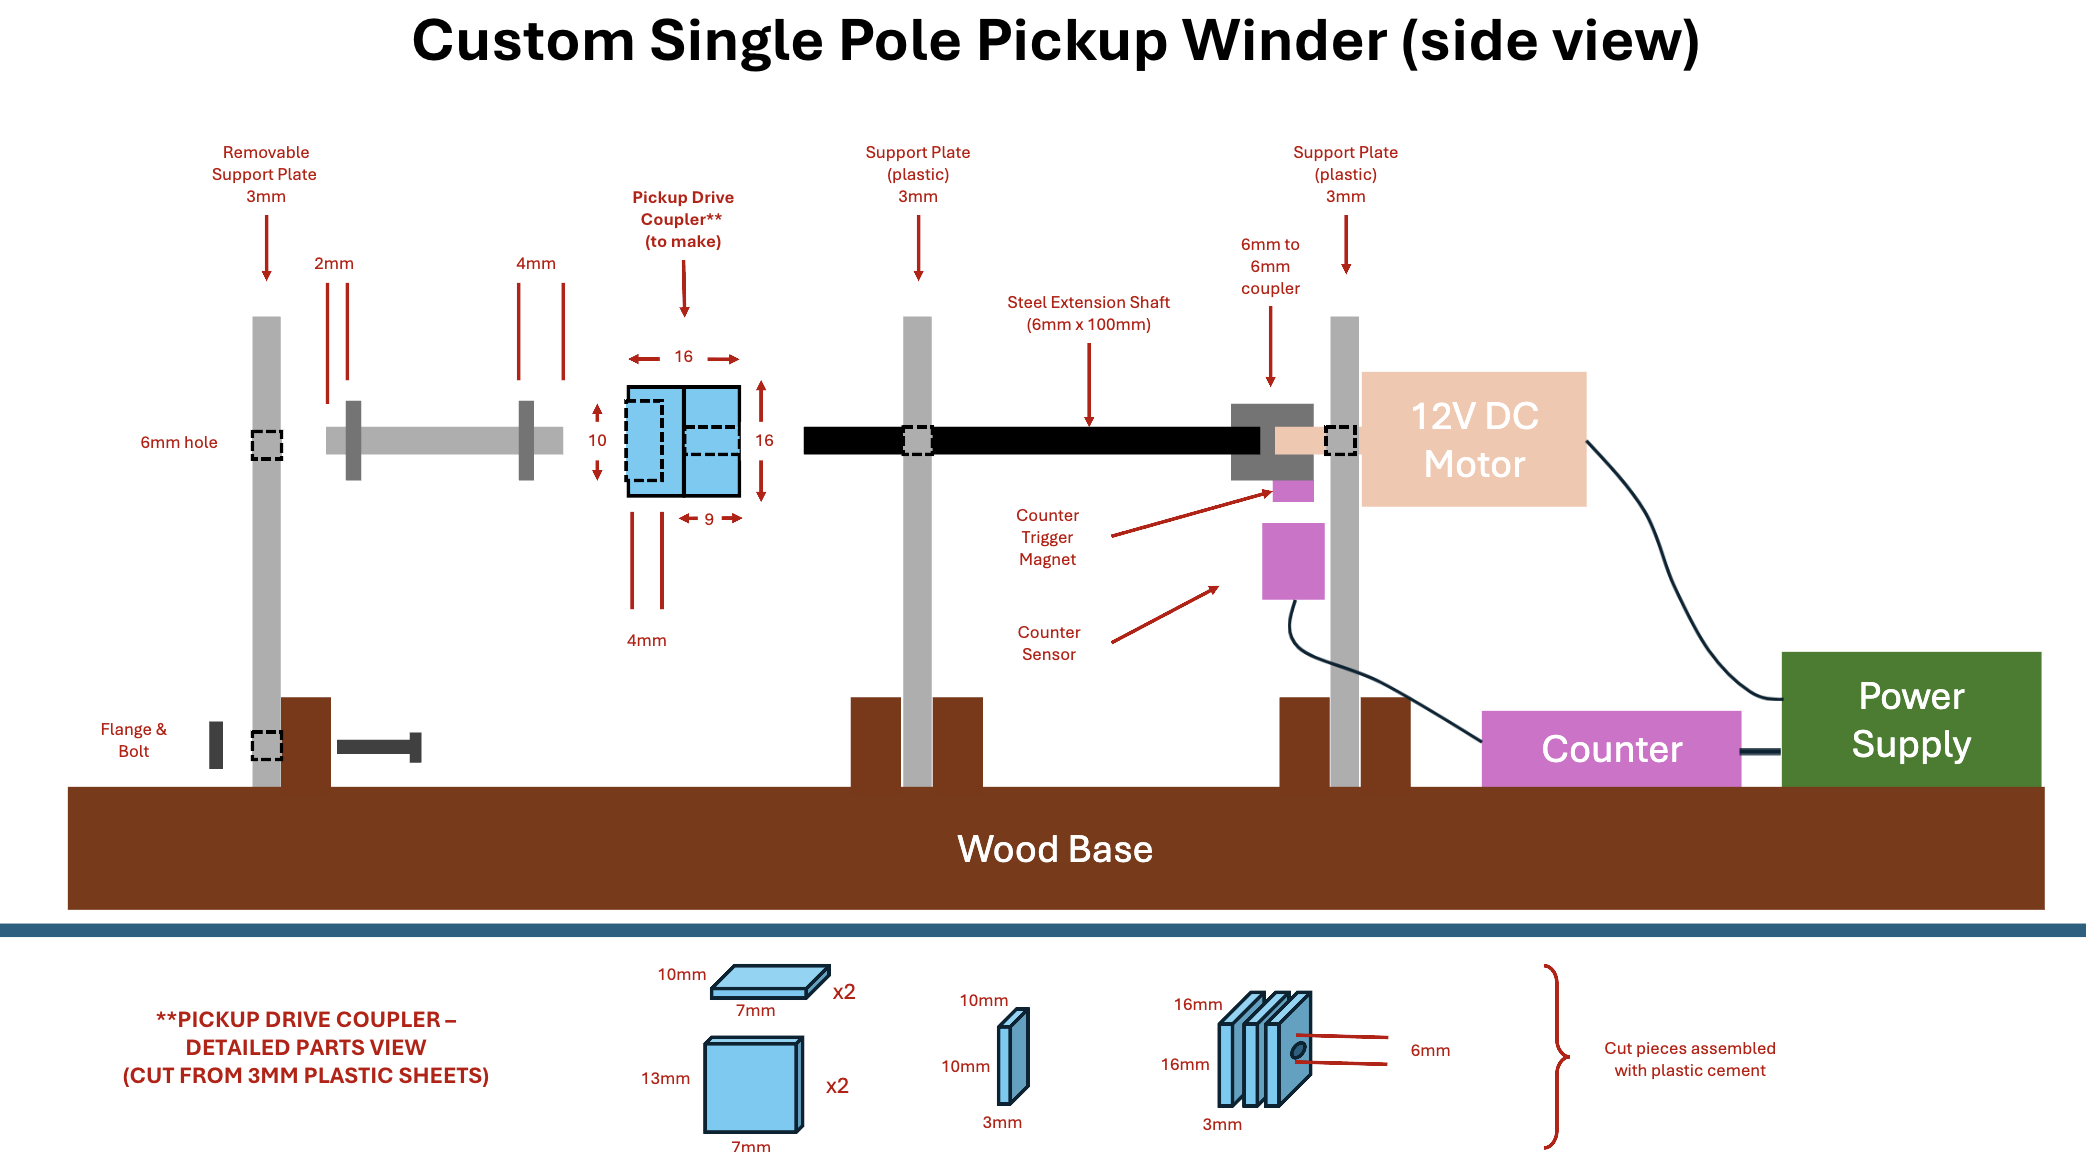
Diagram courtesy of Mark Chong
Part II: Hand-Winding and wiring
The pickup body was assembled using hand-cut bobbins super glued onto a single central magnet. Tap holes were drilled onto on end and the everything was meticulously filed and smoothed to reduce the amount of snags when winding. The lead began in with hand-wrapping in one of the tap holes before being mounted onto the winder and spun. To fasten off, the other lead hole was wrapped. One pickup took between 30-60 minutes to complete.
After the pickups were wound, lead wires were soldered into the tap holes. Continuity checked were performed to ensure each connection was sound and that no imperceptible breaks formed in the wire during assembly. An average resistance of 1.1kOhms was measured.
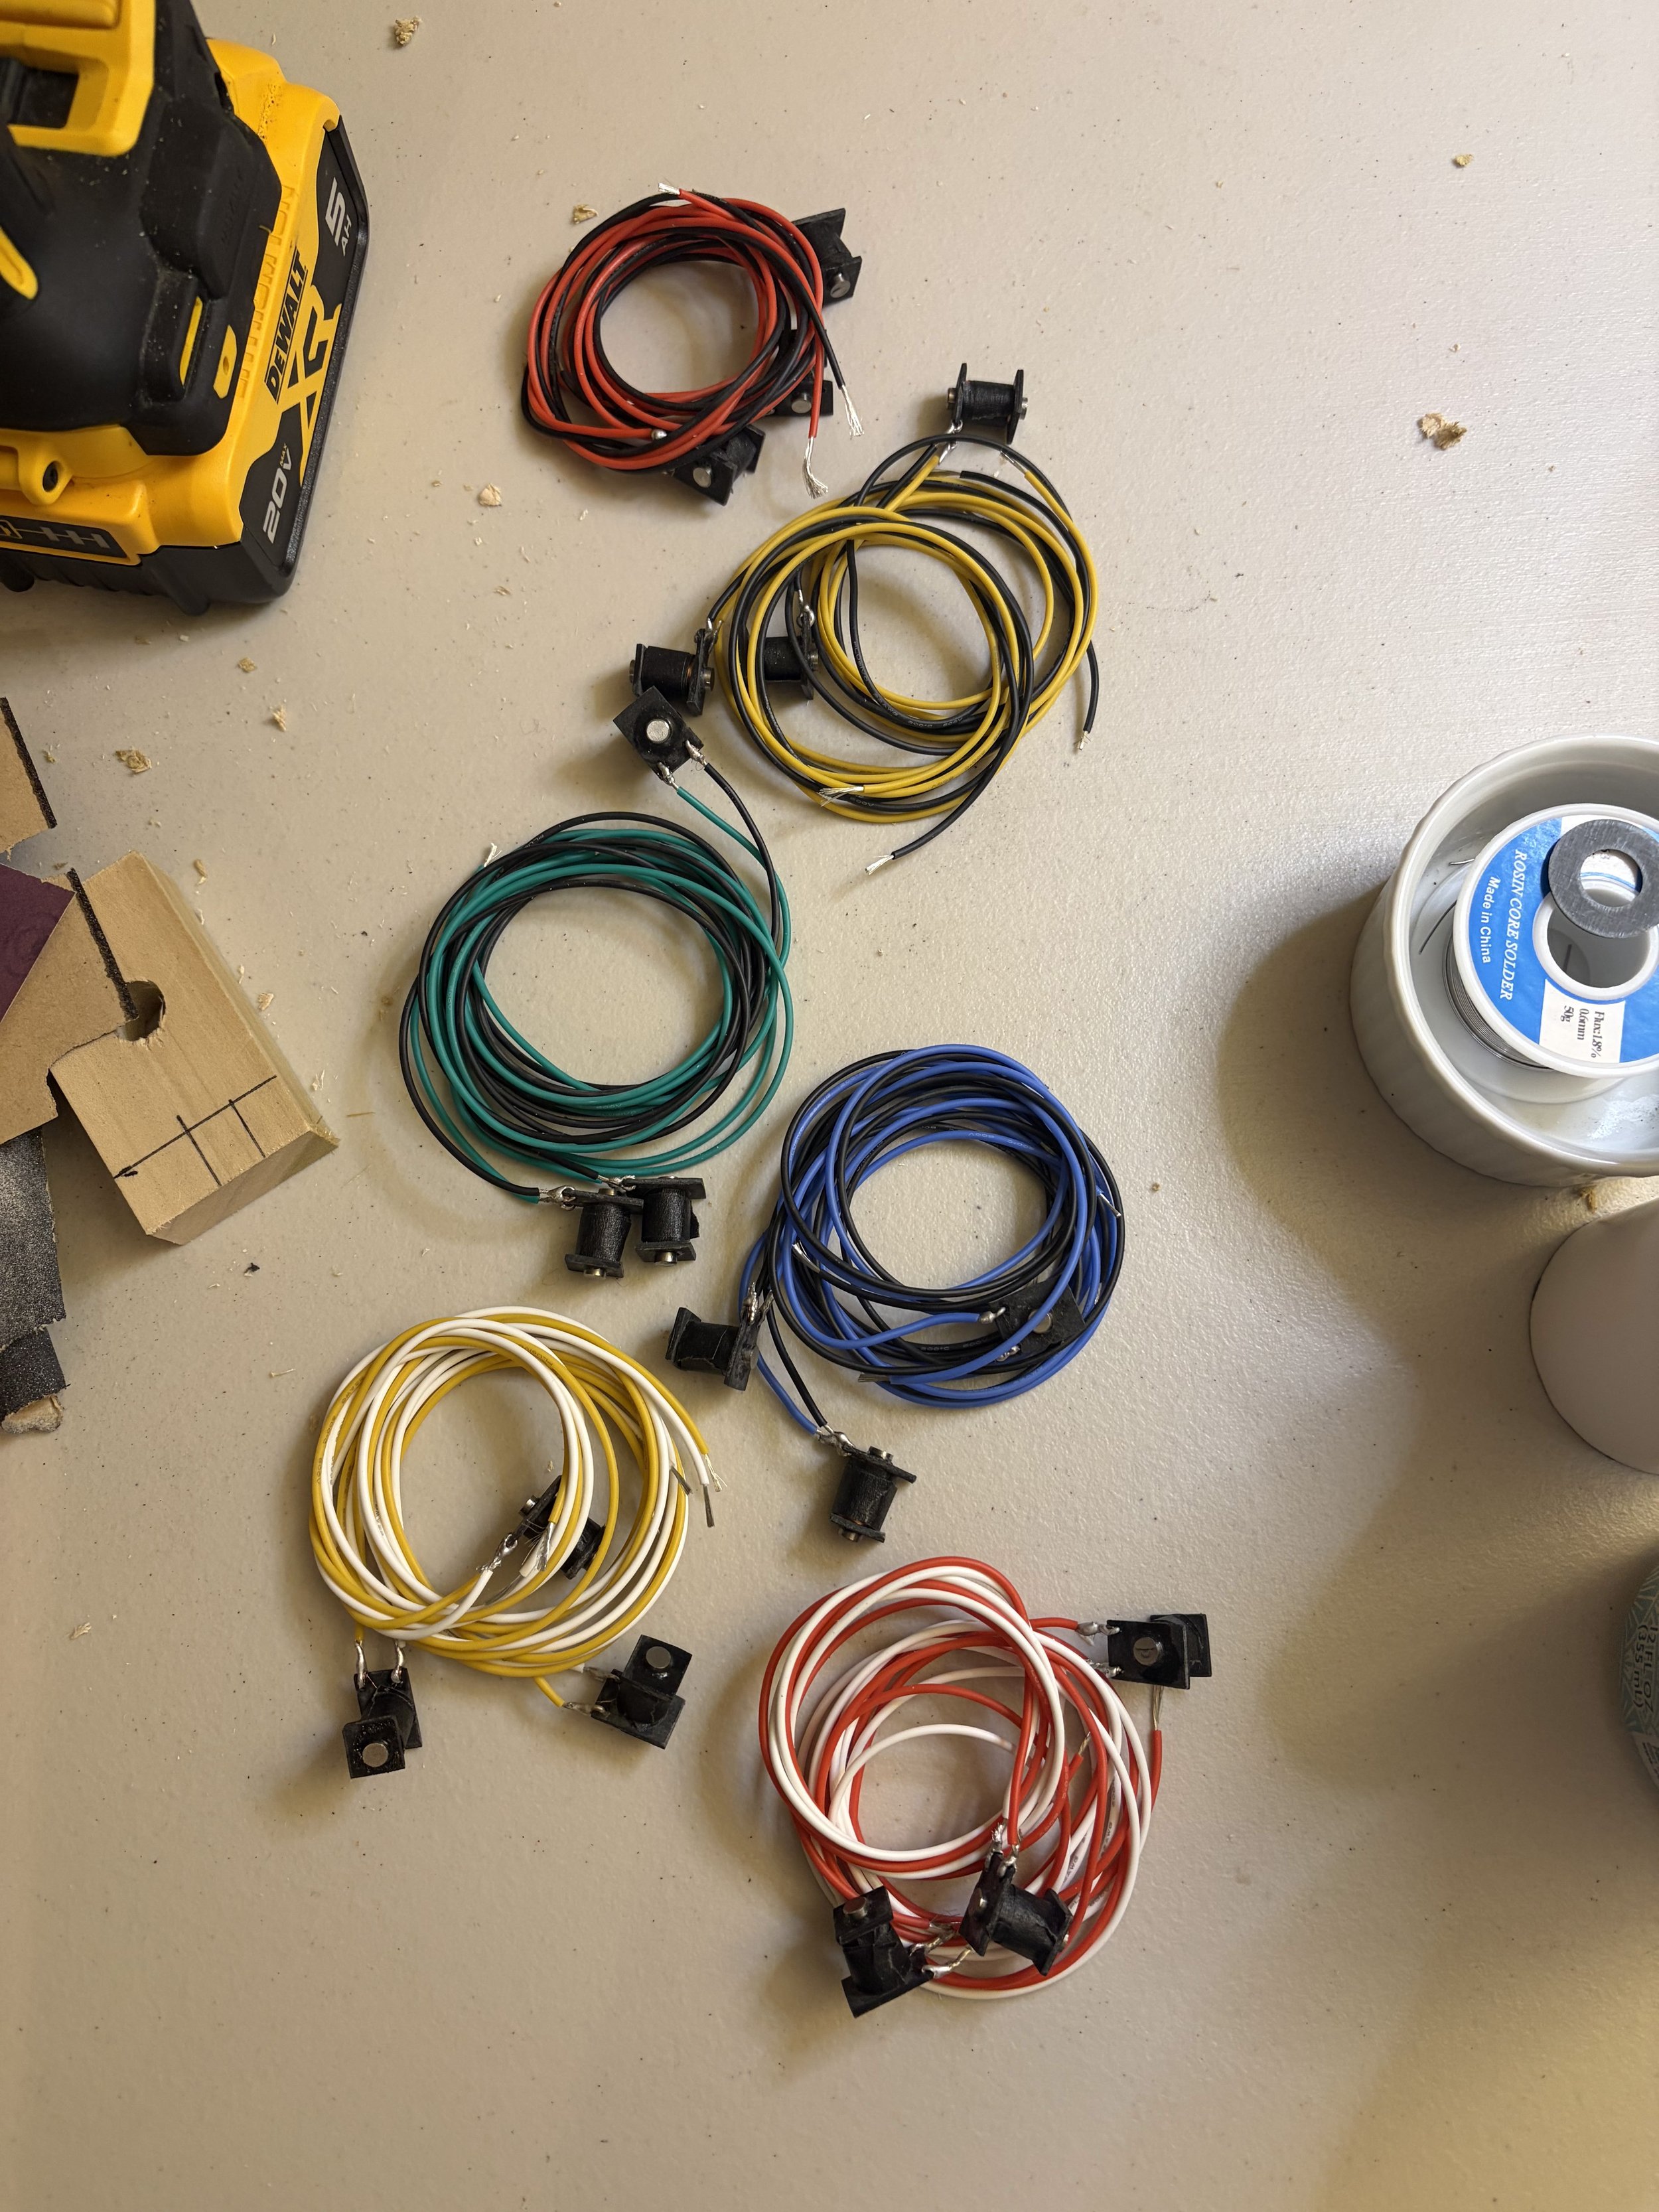
Part III: Potting
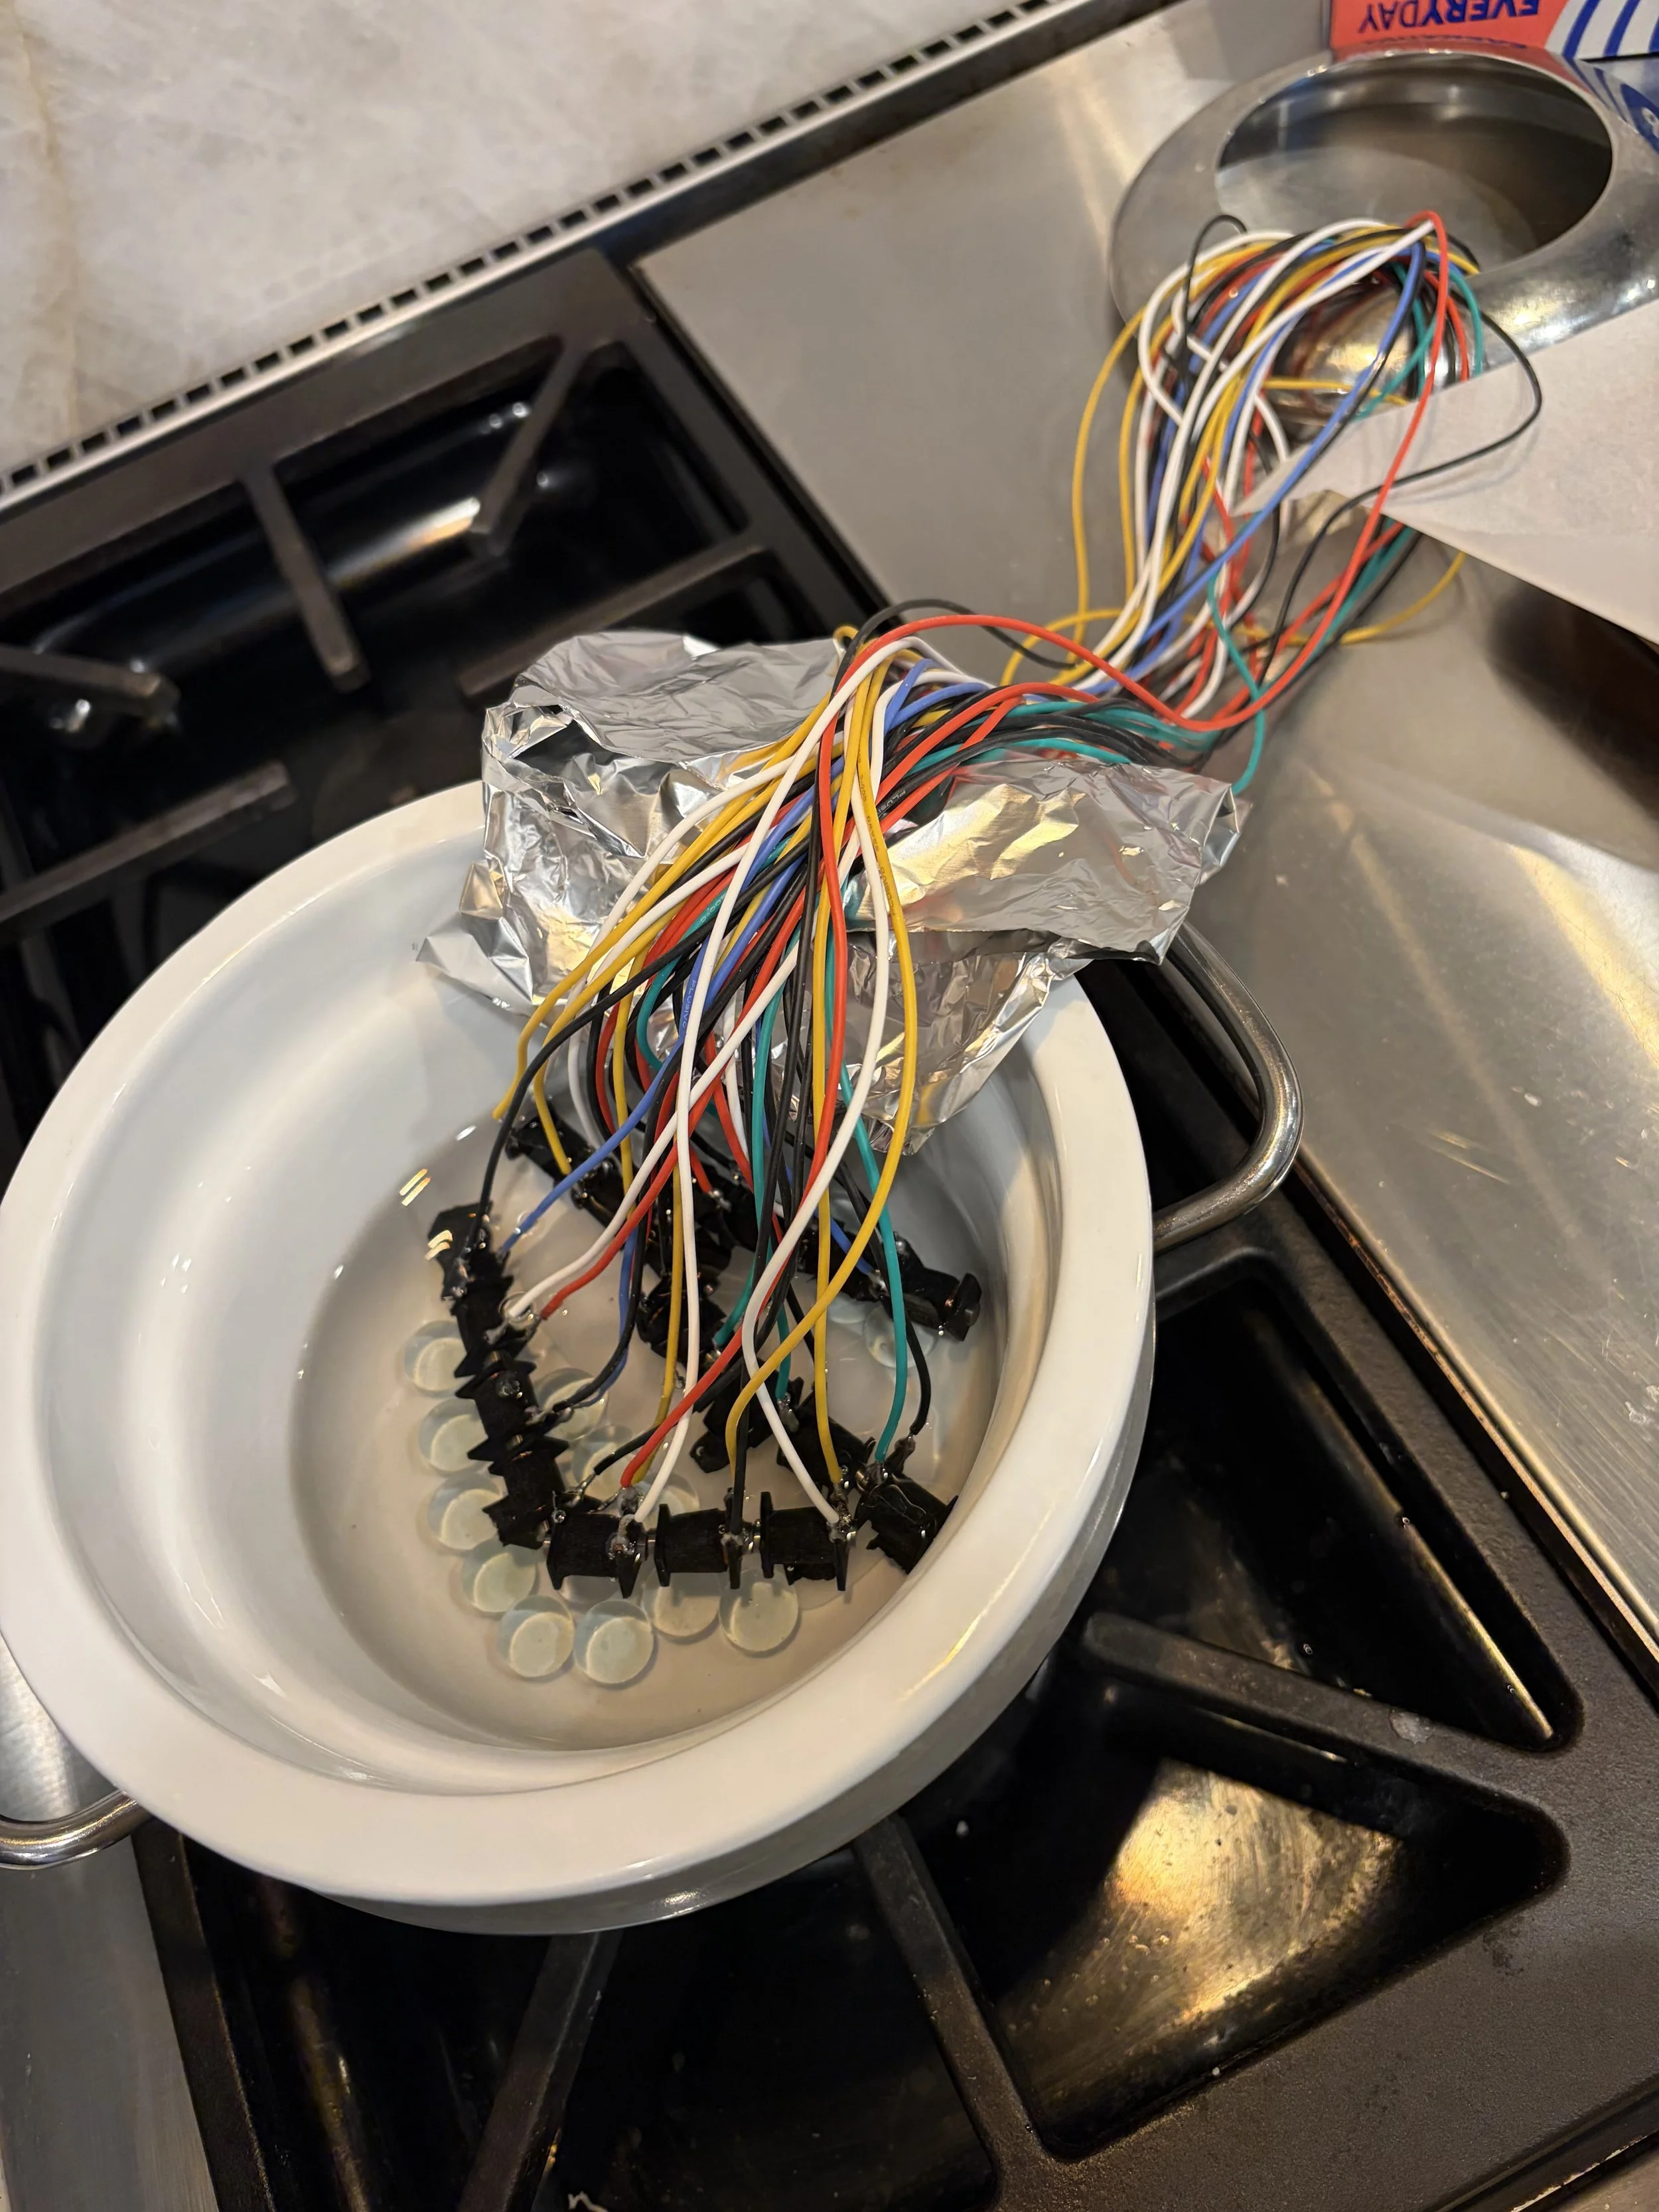
Using a fondue pot over a stove flame, wax was melted and the pickups were dipped. One oversight - the tape over the wire was not fastened with bands, so it began to peel up. The structural integrity of the pickups was alright and we suffered no casualties despite this misstep.
Part IV: Switch Wiring
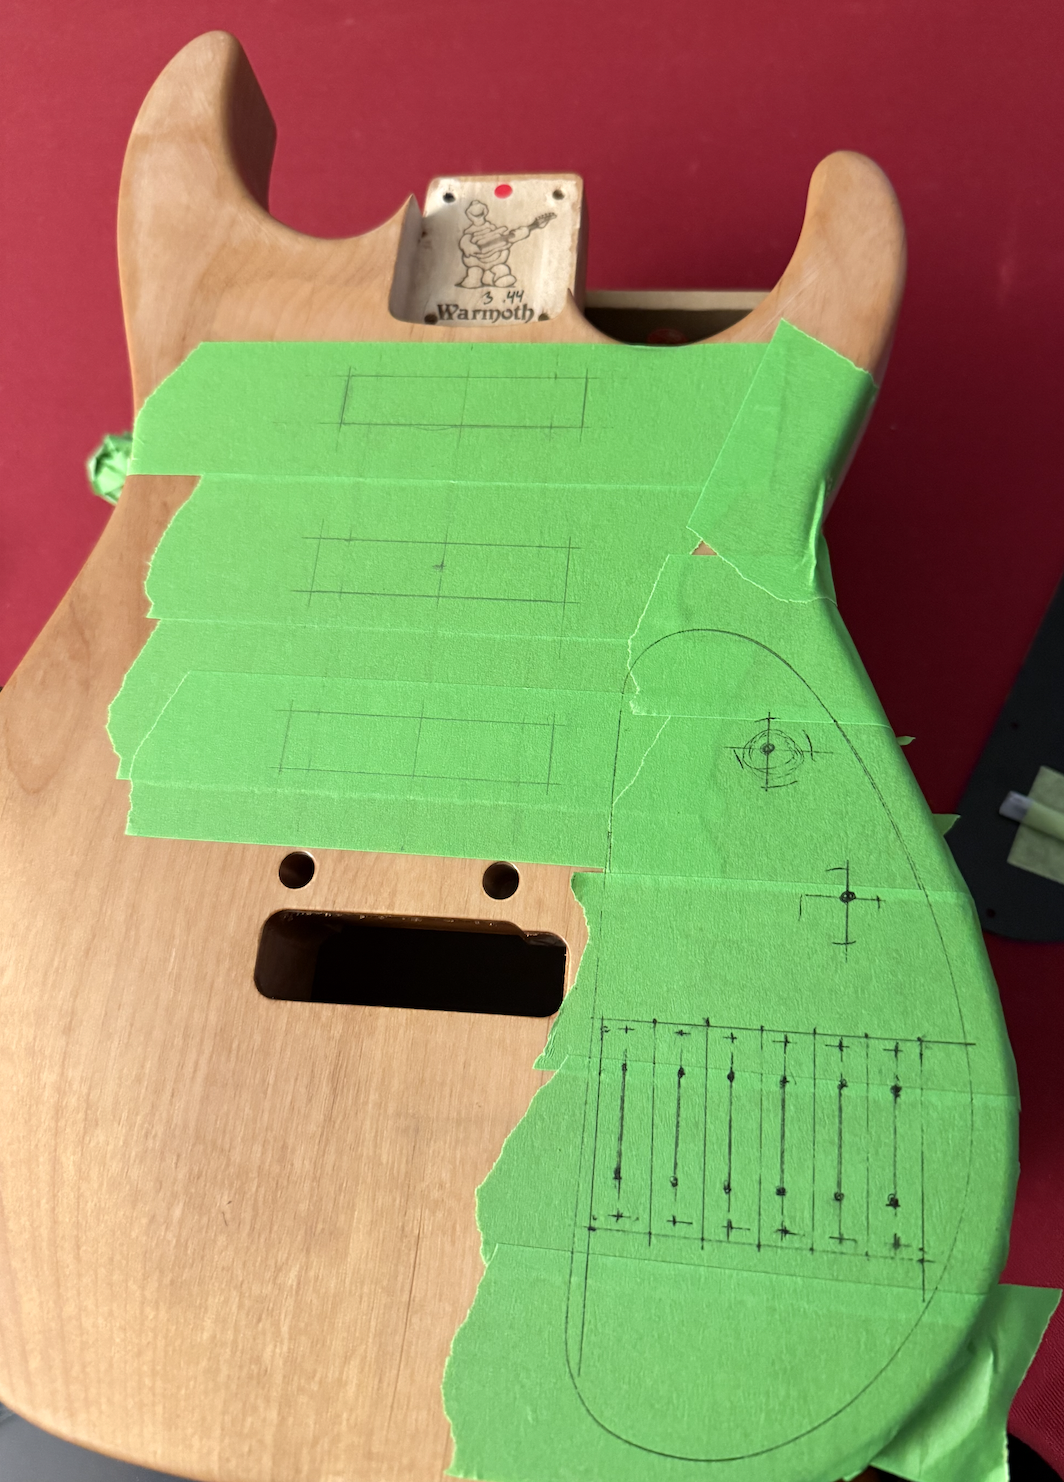
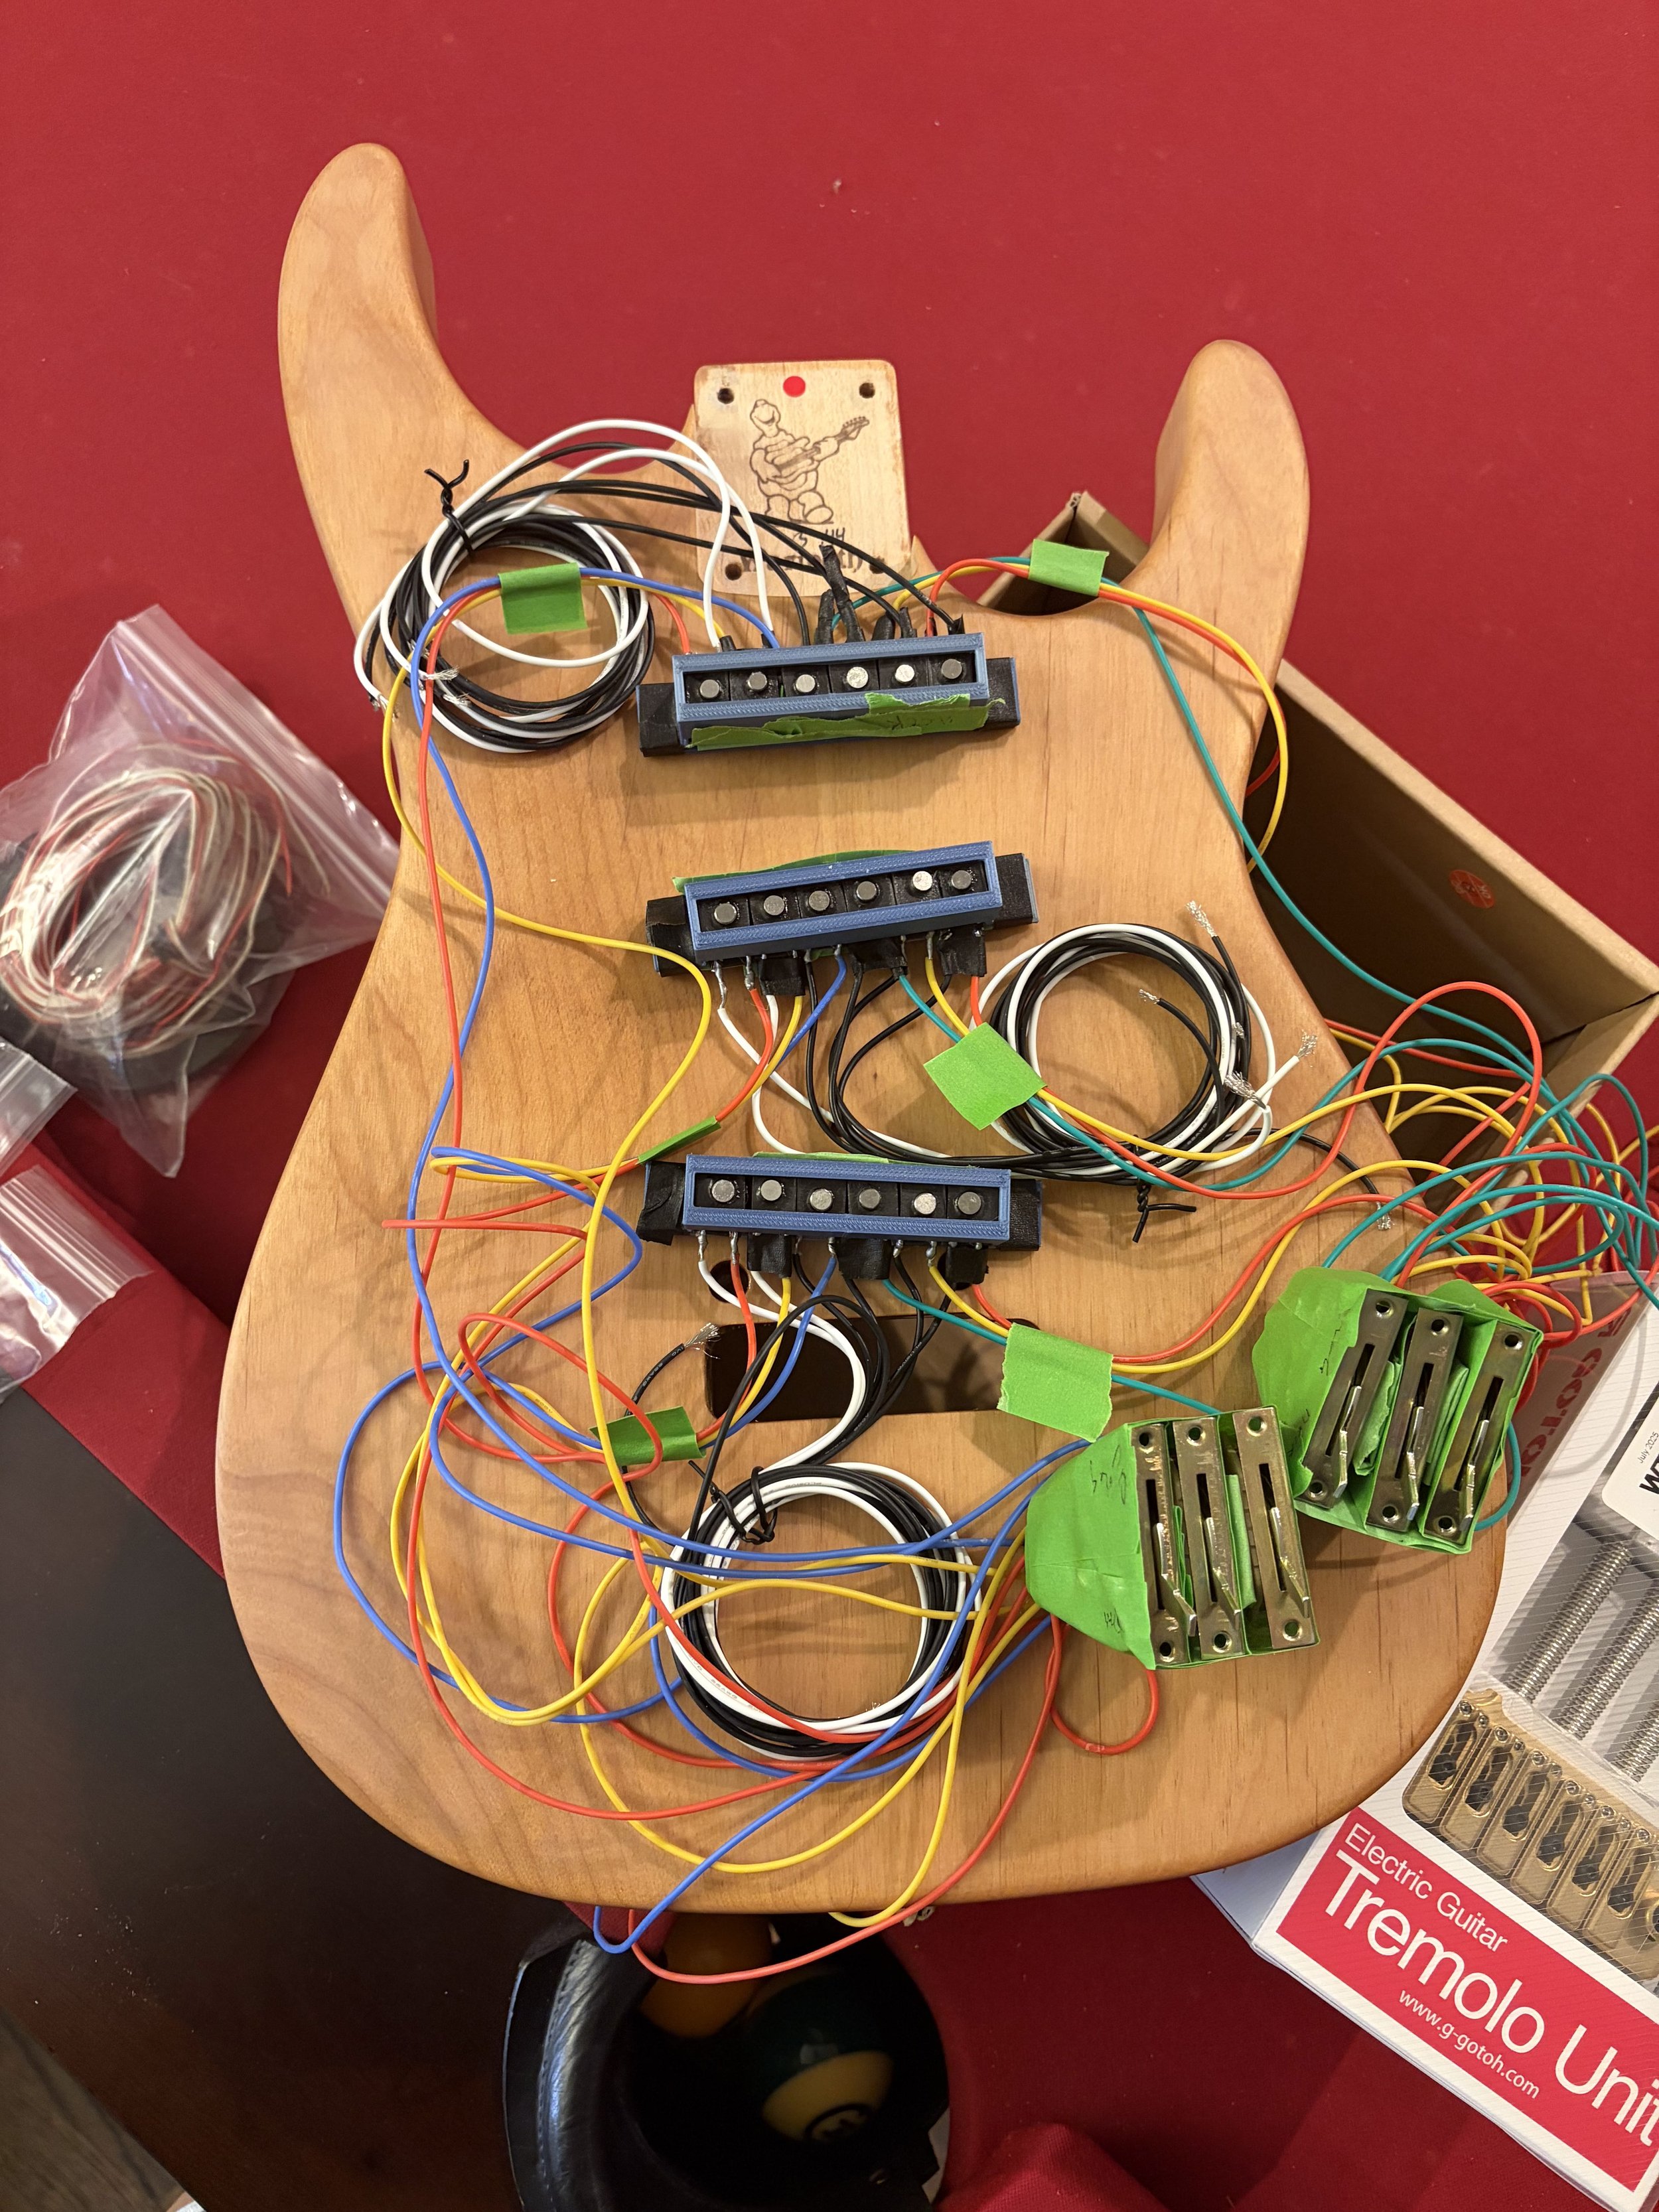
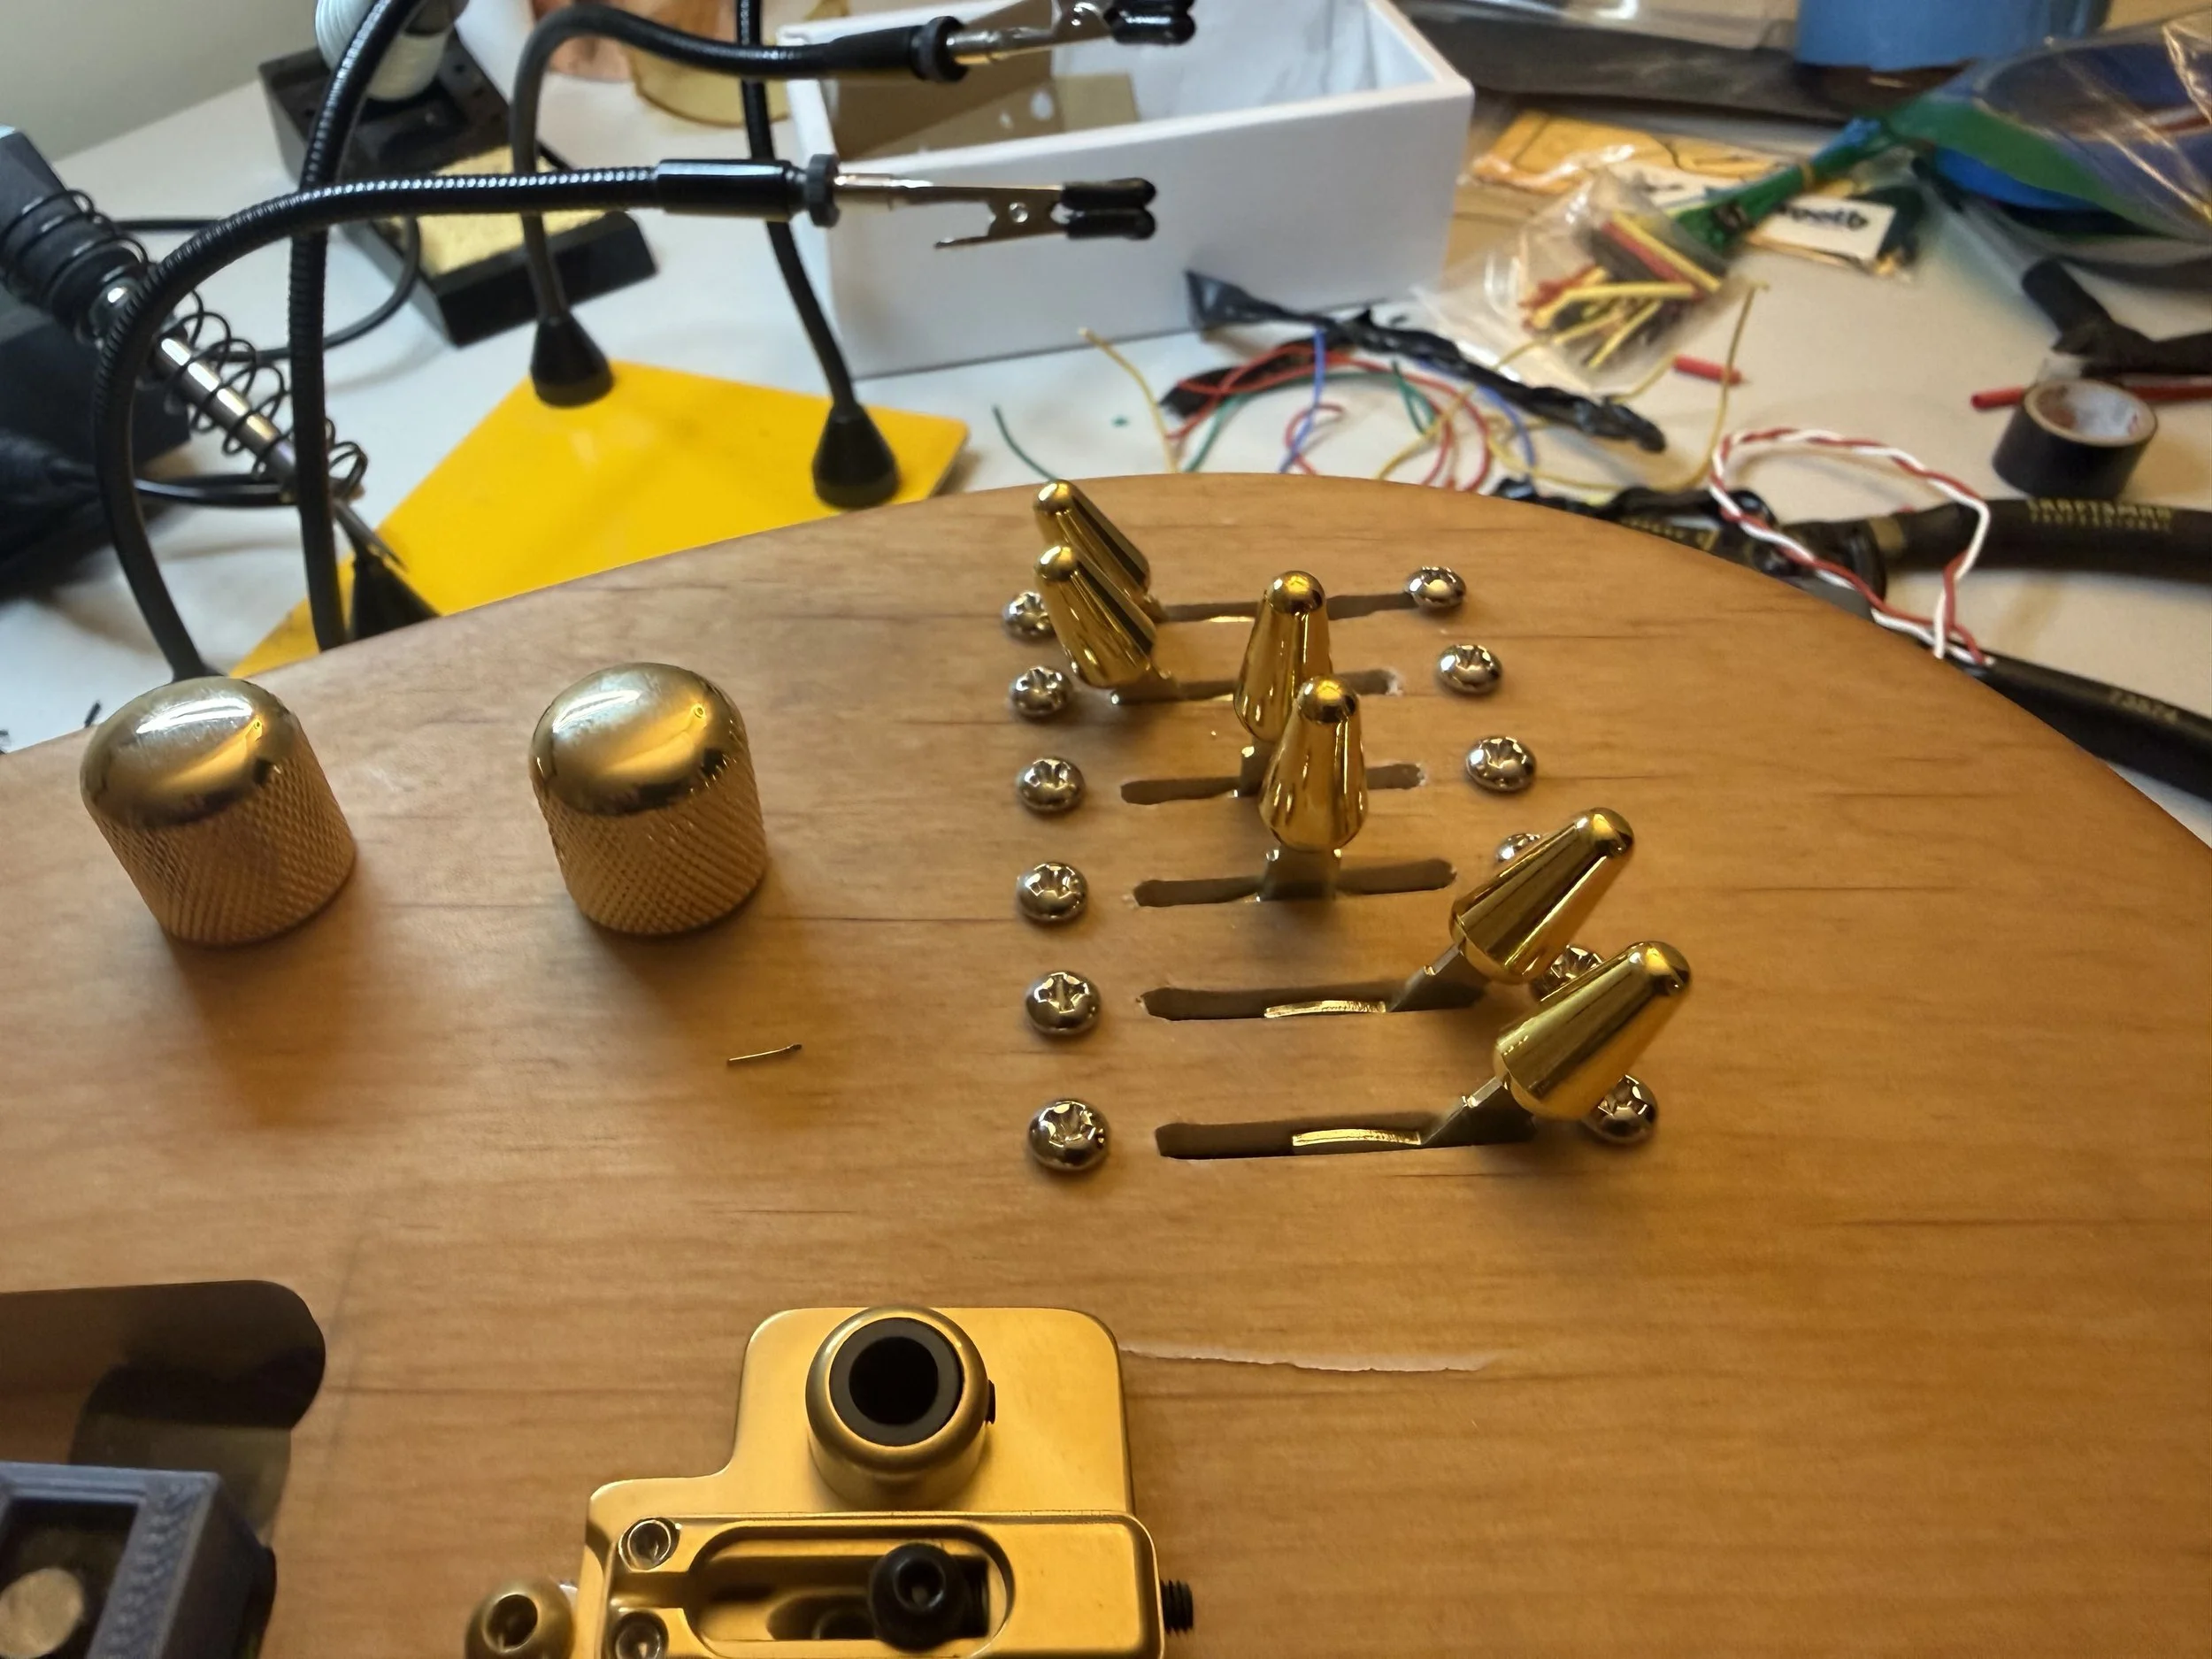
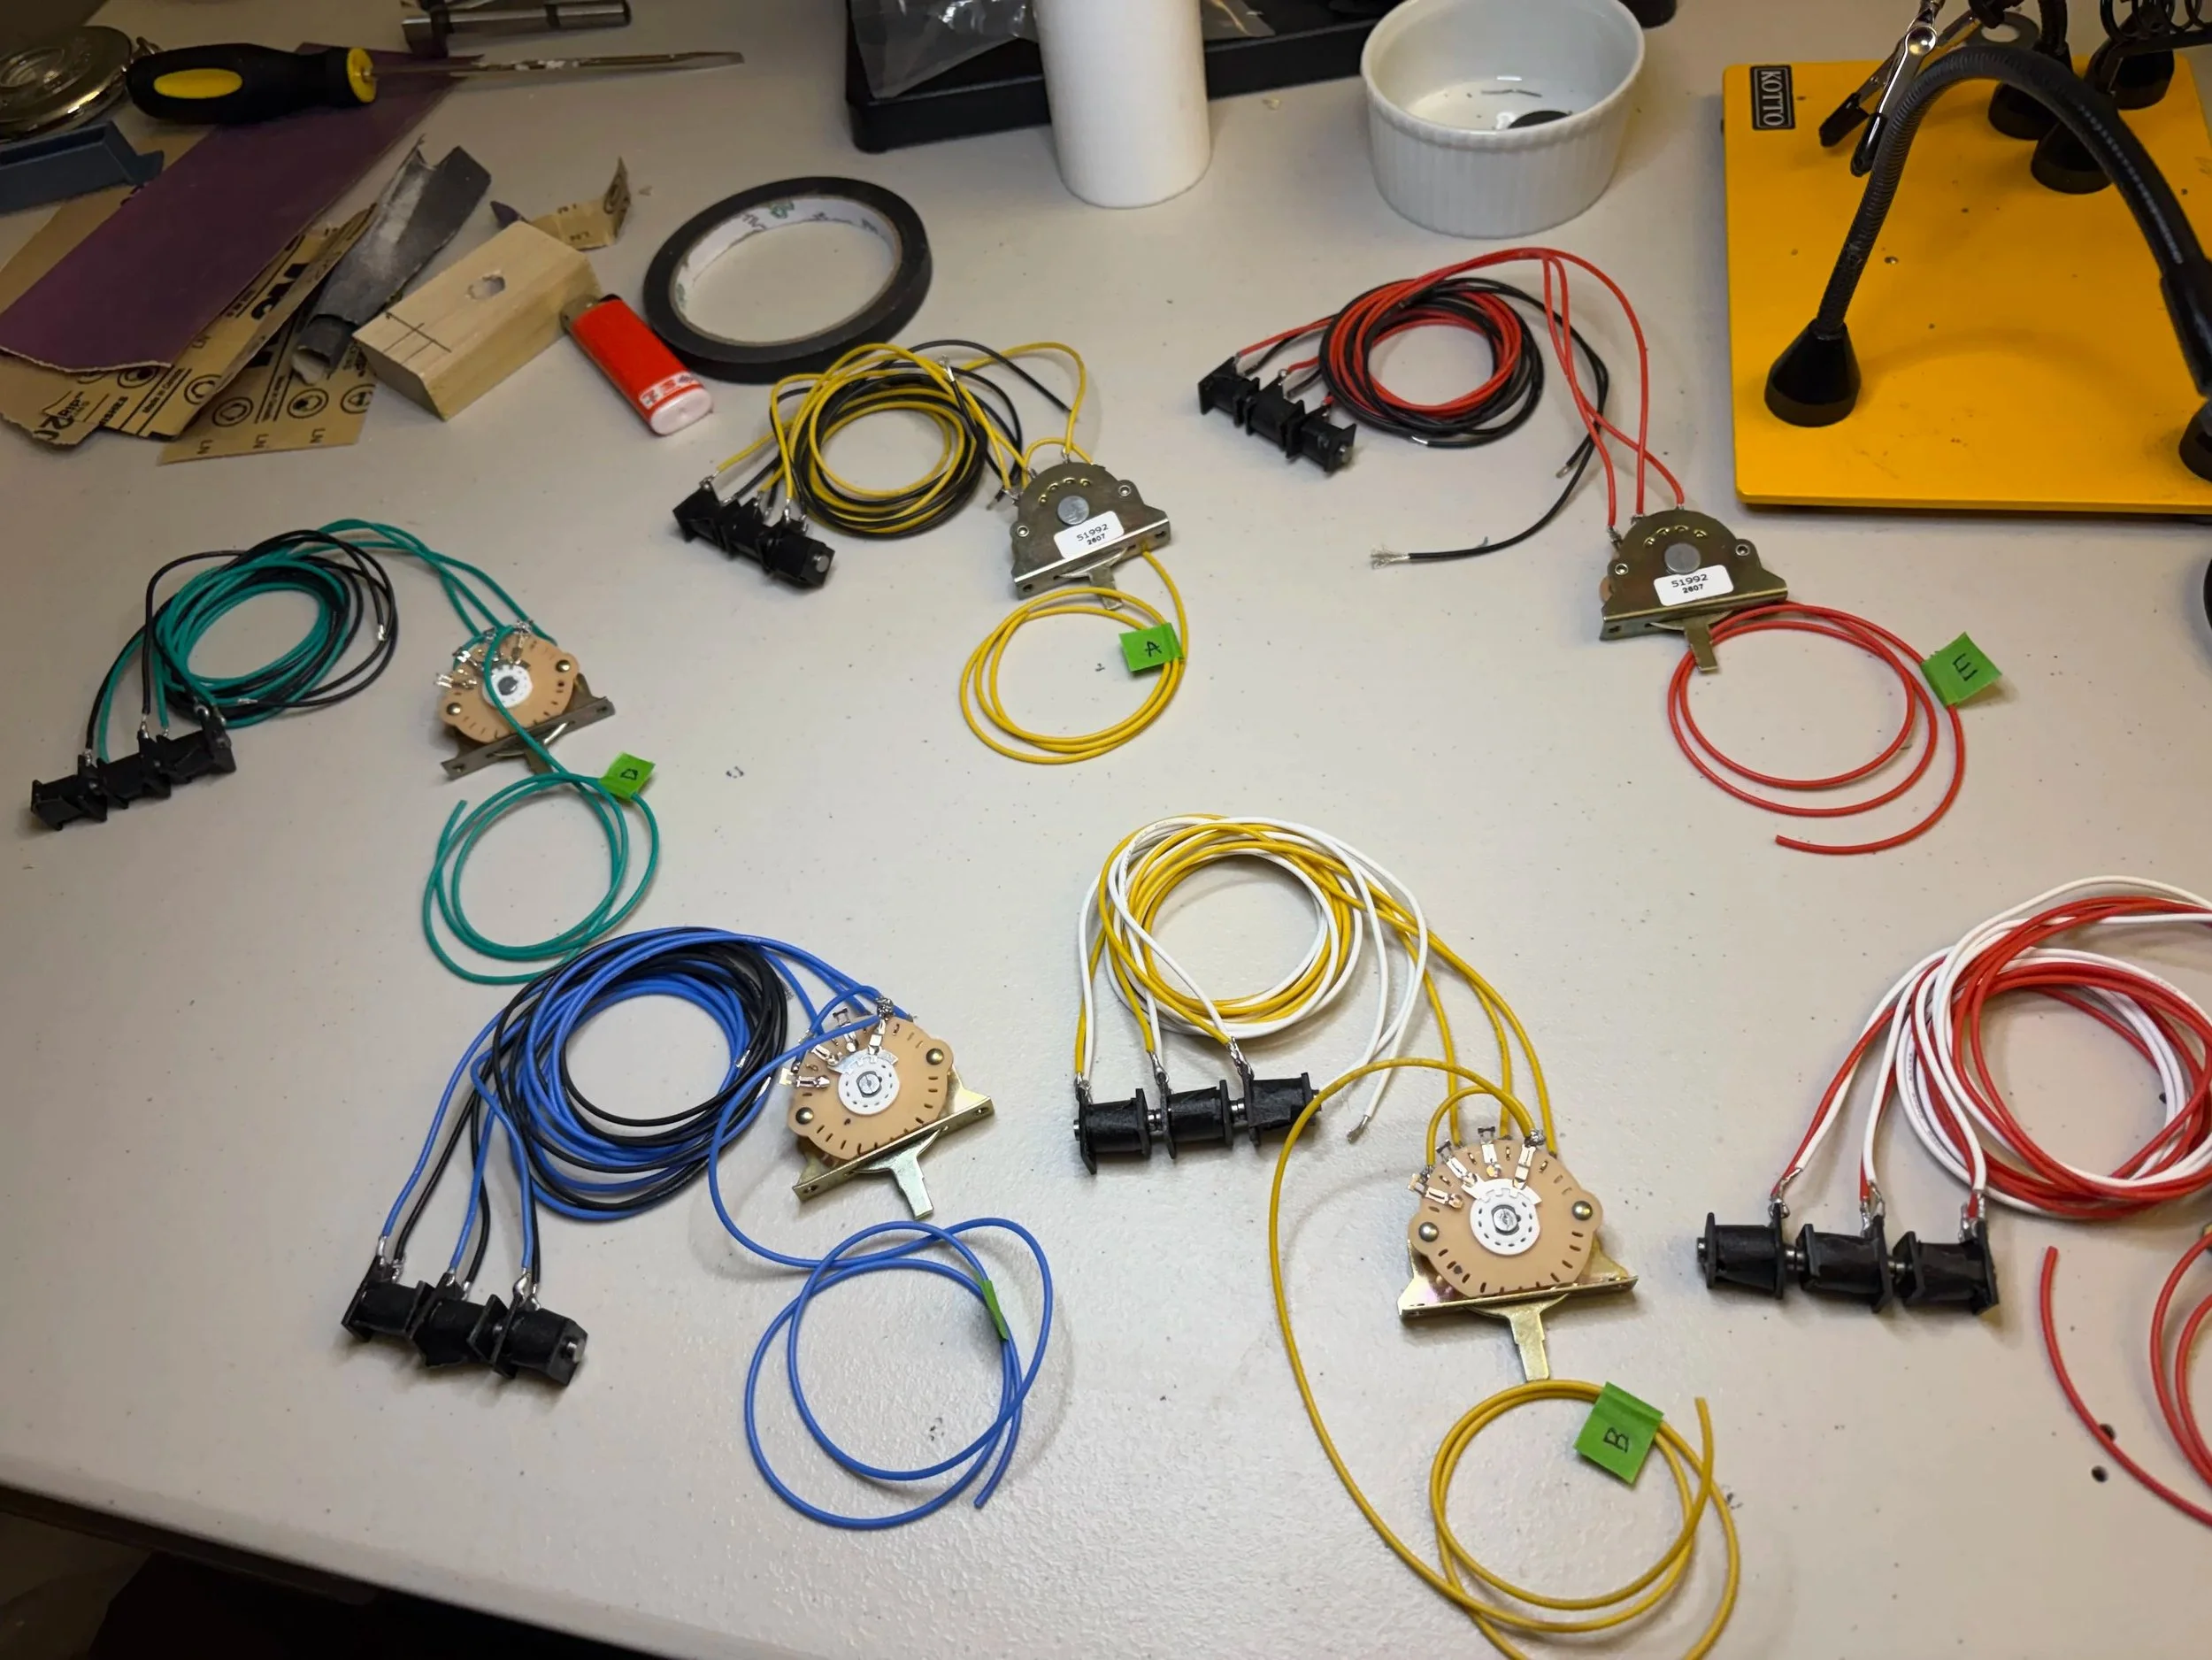
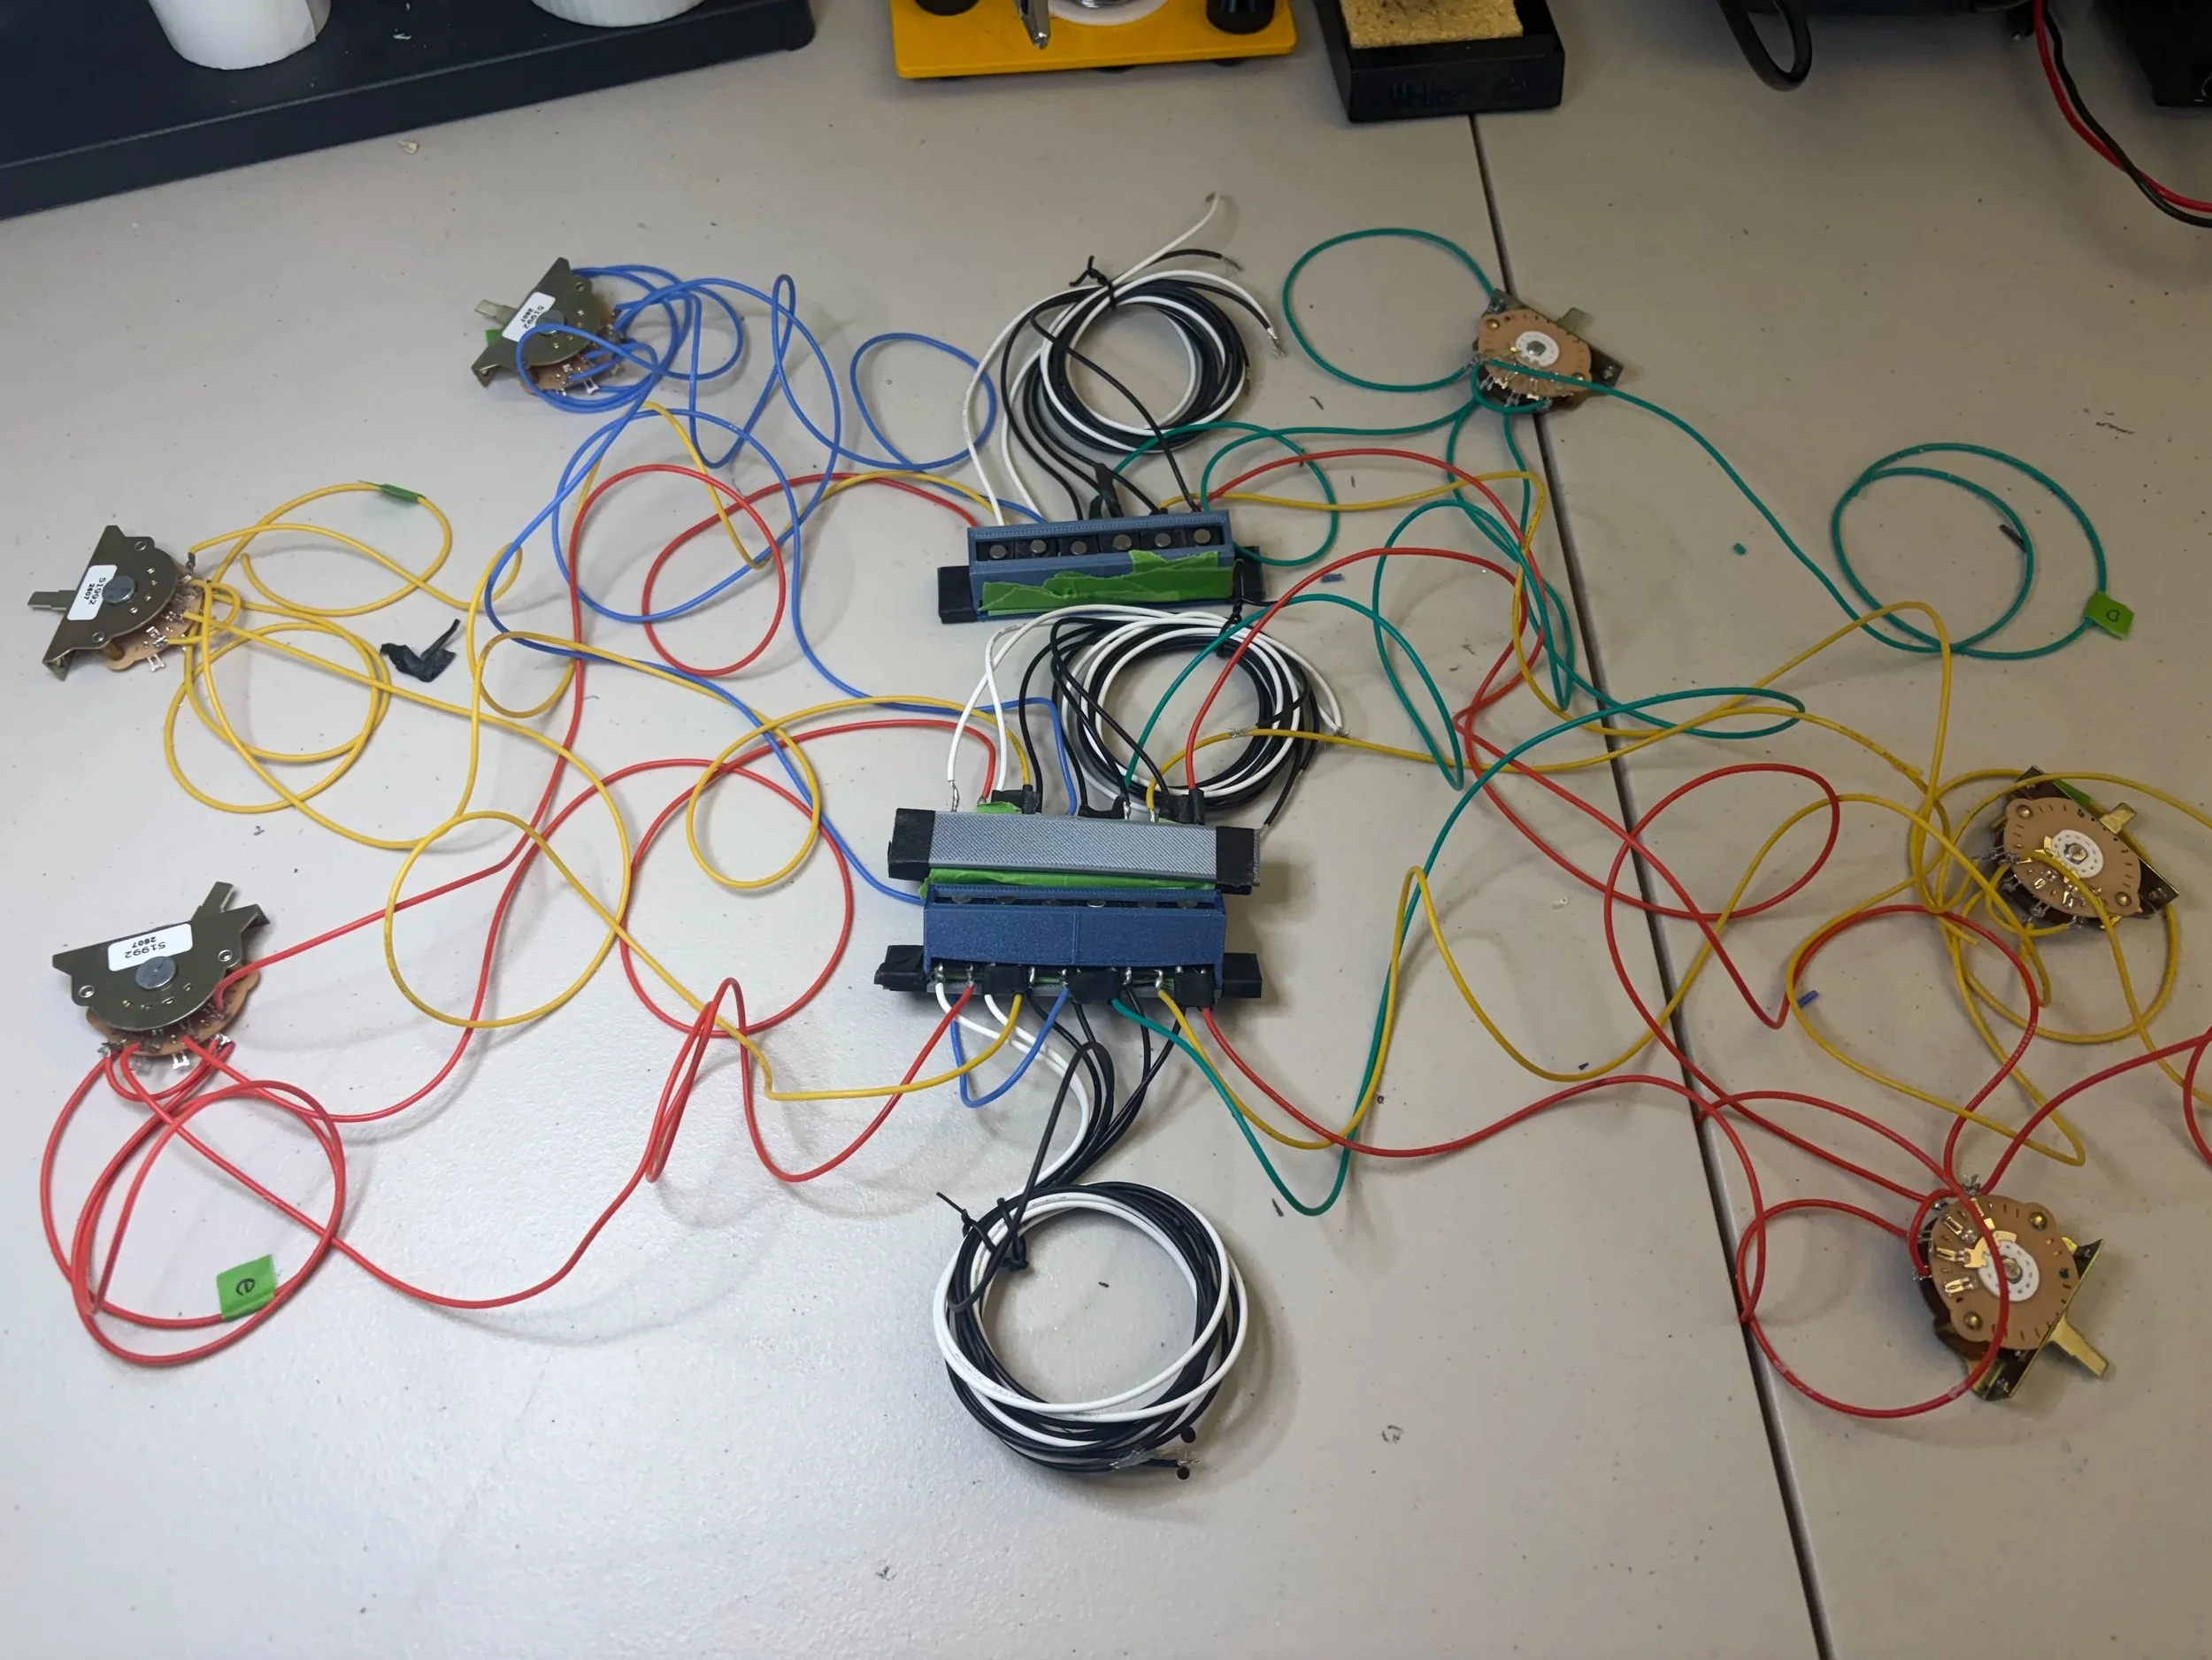
The final design features 6 Fender brand SP3T switches, wired traditionally to select either a bridge, middle or neck pickup for each individual strings. This consolidates the 6 lead wires into two for the next steps.
Part V: Fitting a Case
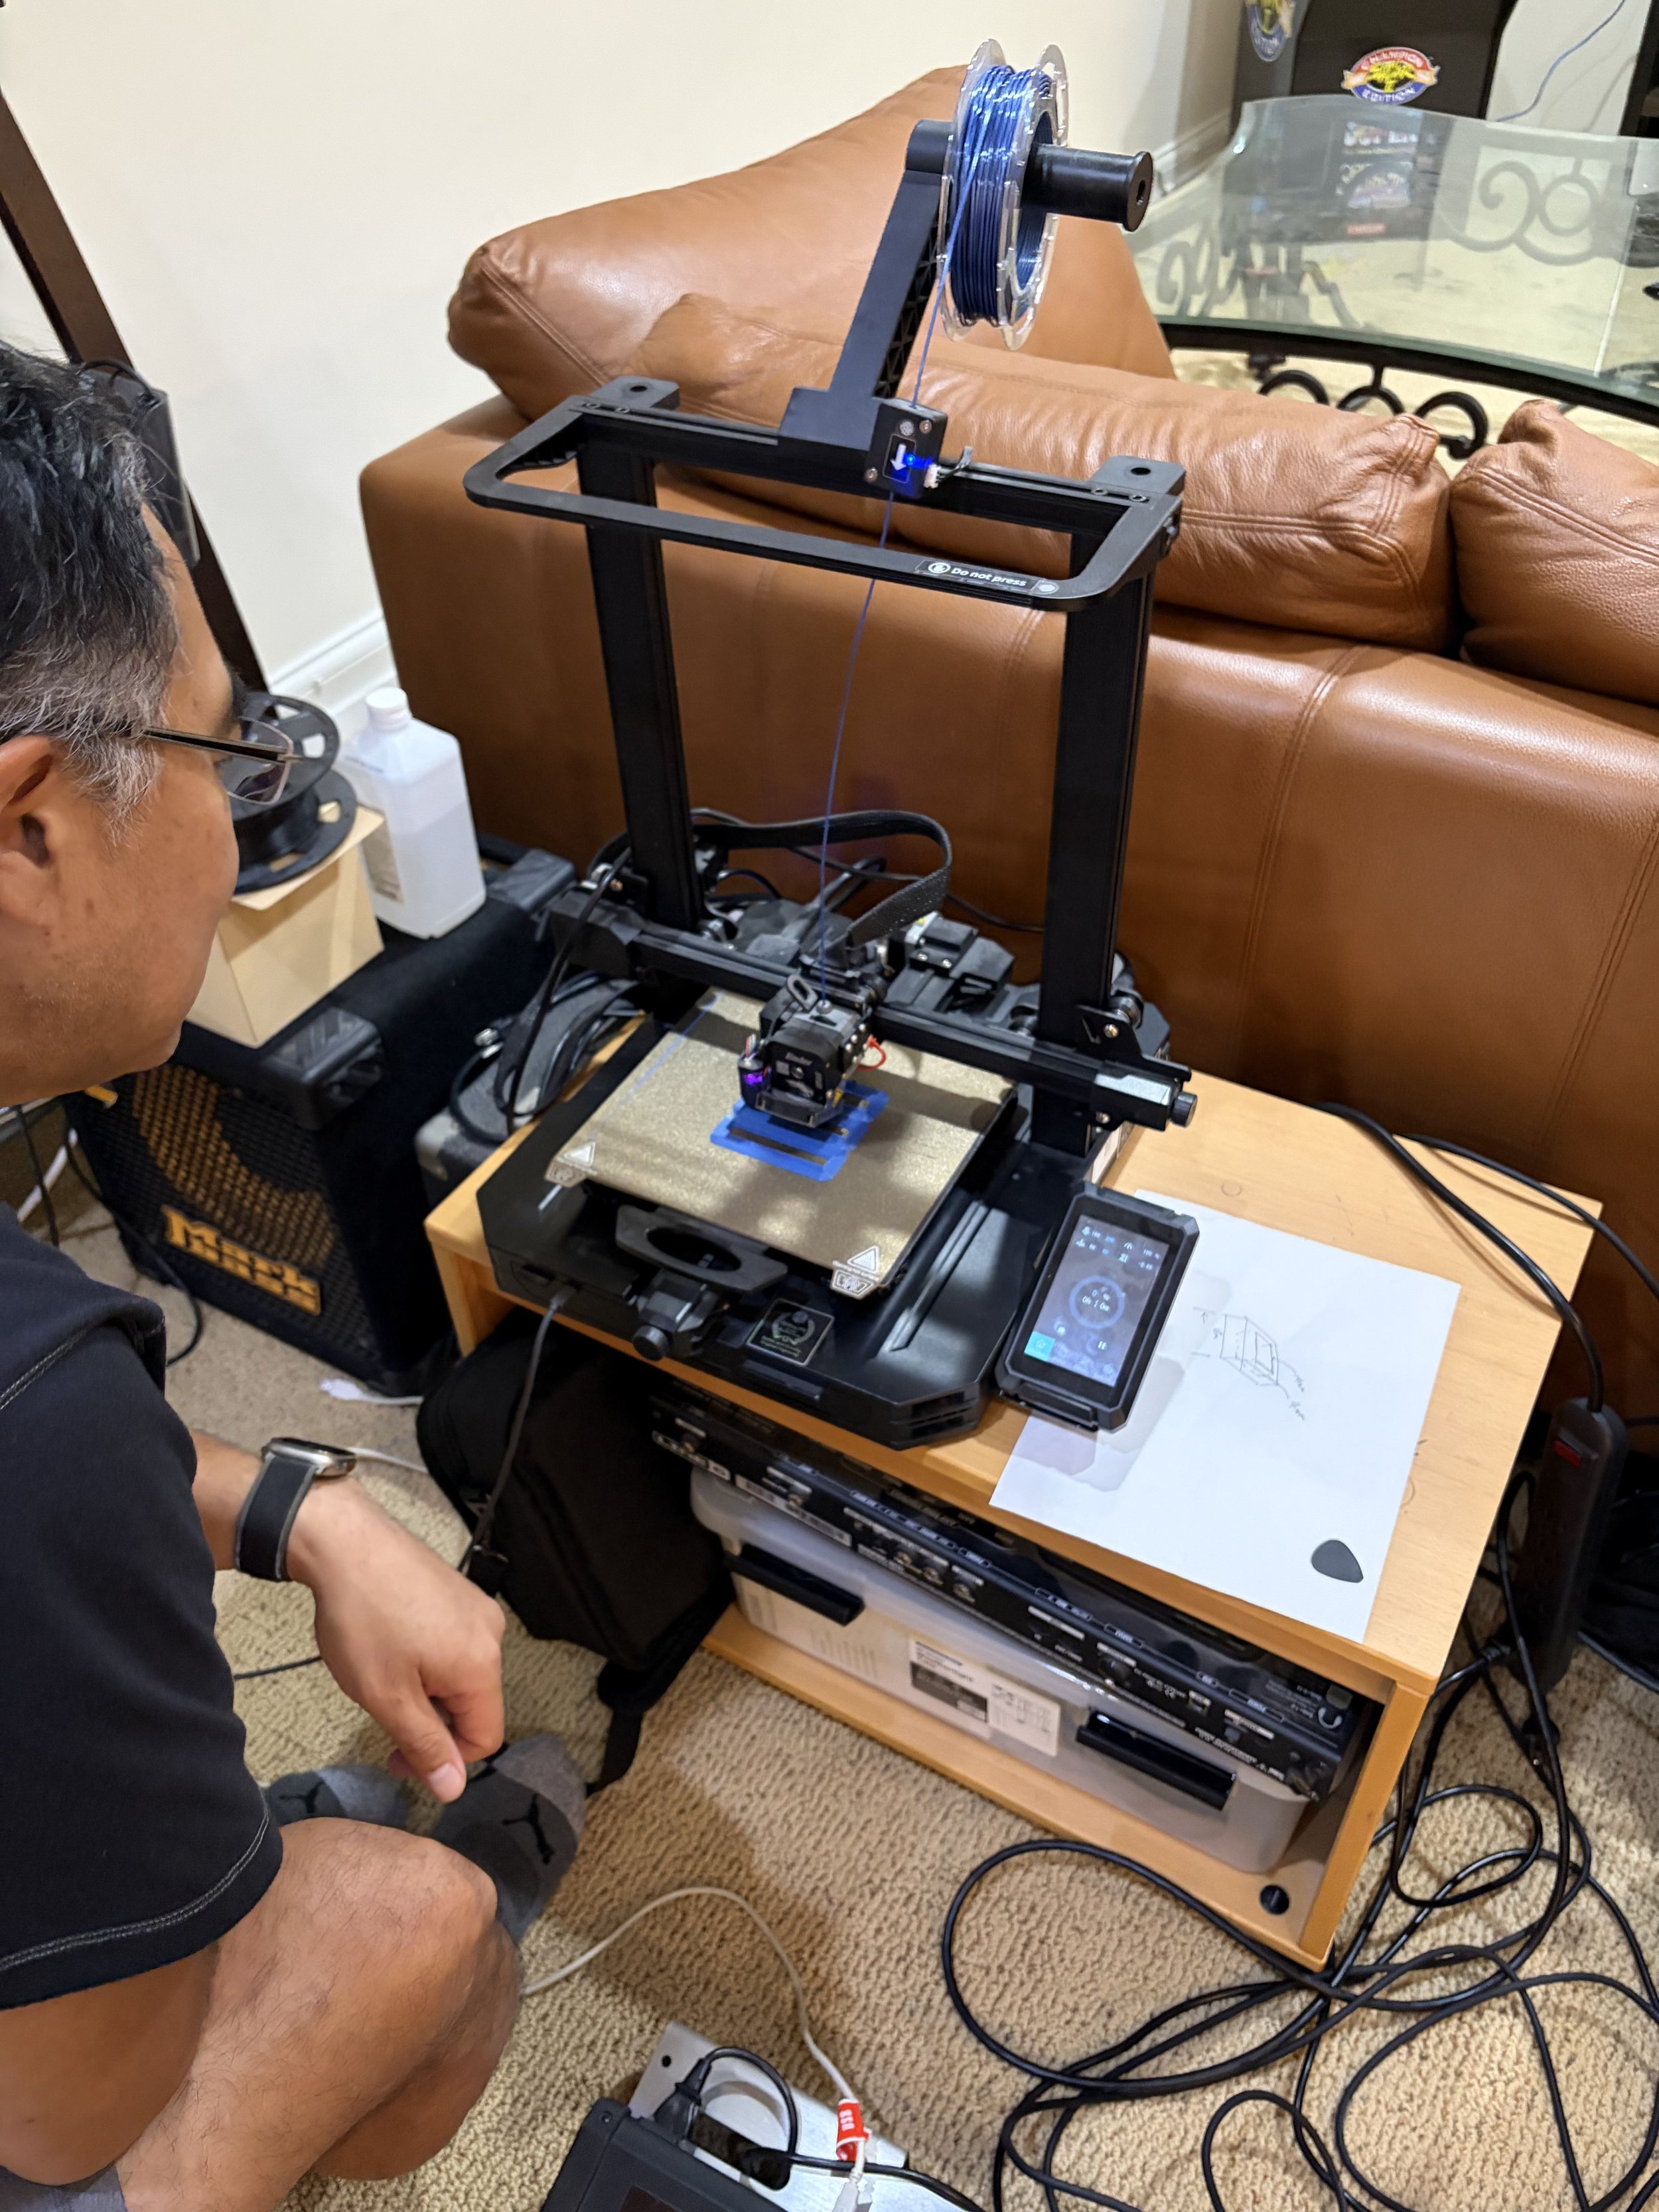
With the help of my associate, Mark Chong, a case to fit a linear array of 6 pickups into a traditional single coil shape was 3D printed after a rigorous R&D process.
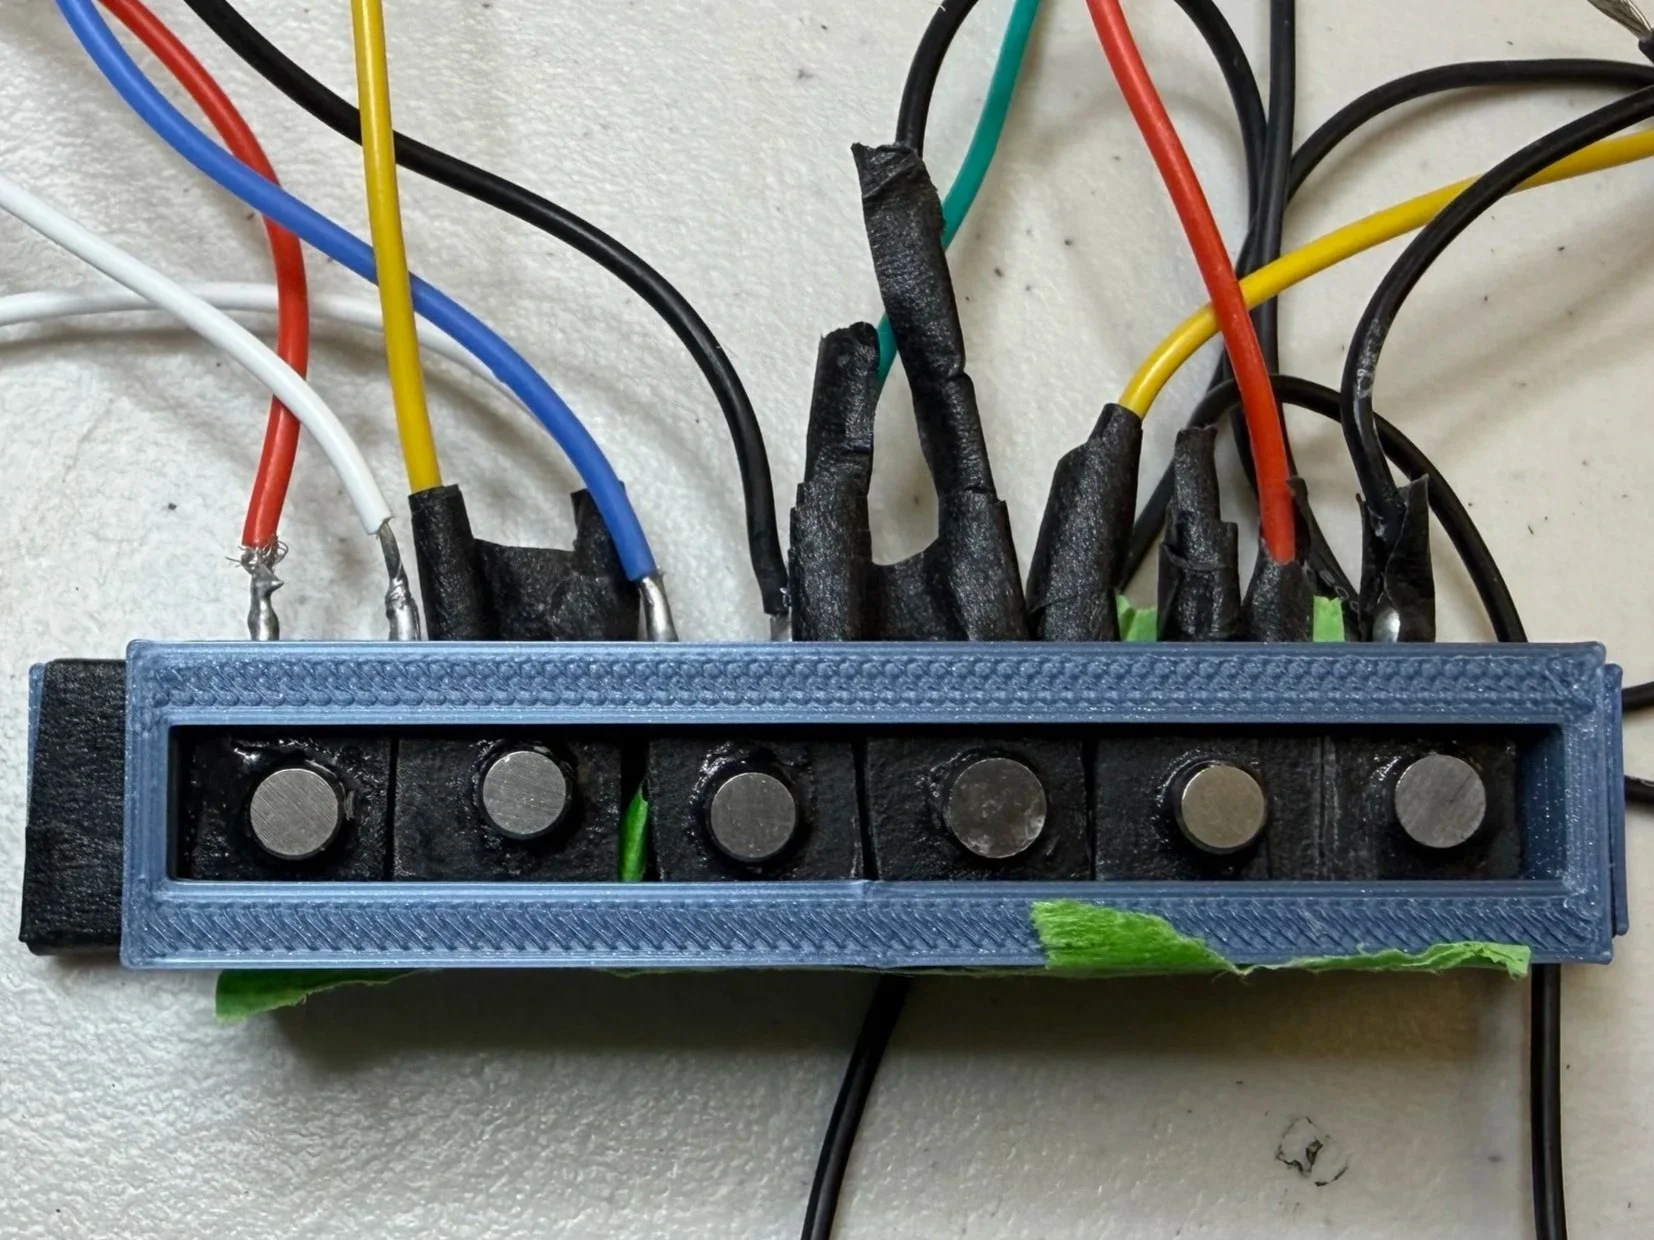
With the switches wired, the pickups were ready for the final circuit design step.
Part VI: The Circuit
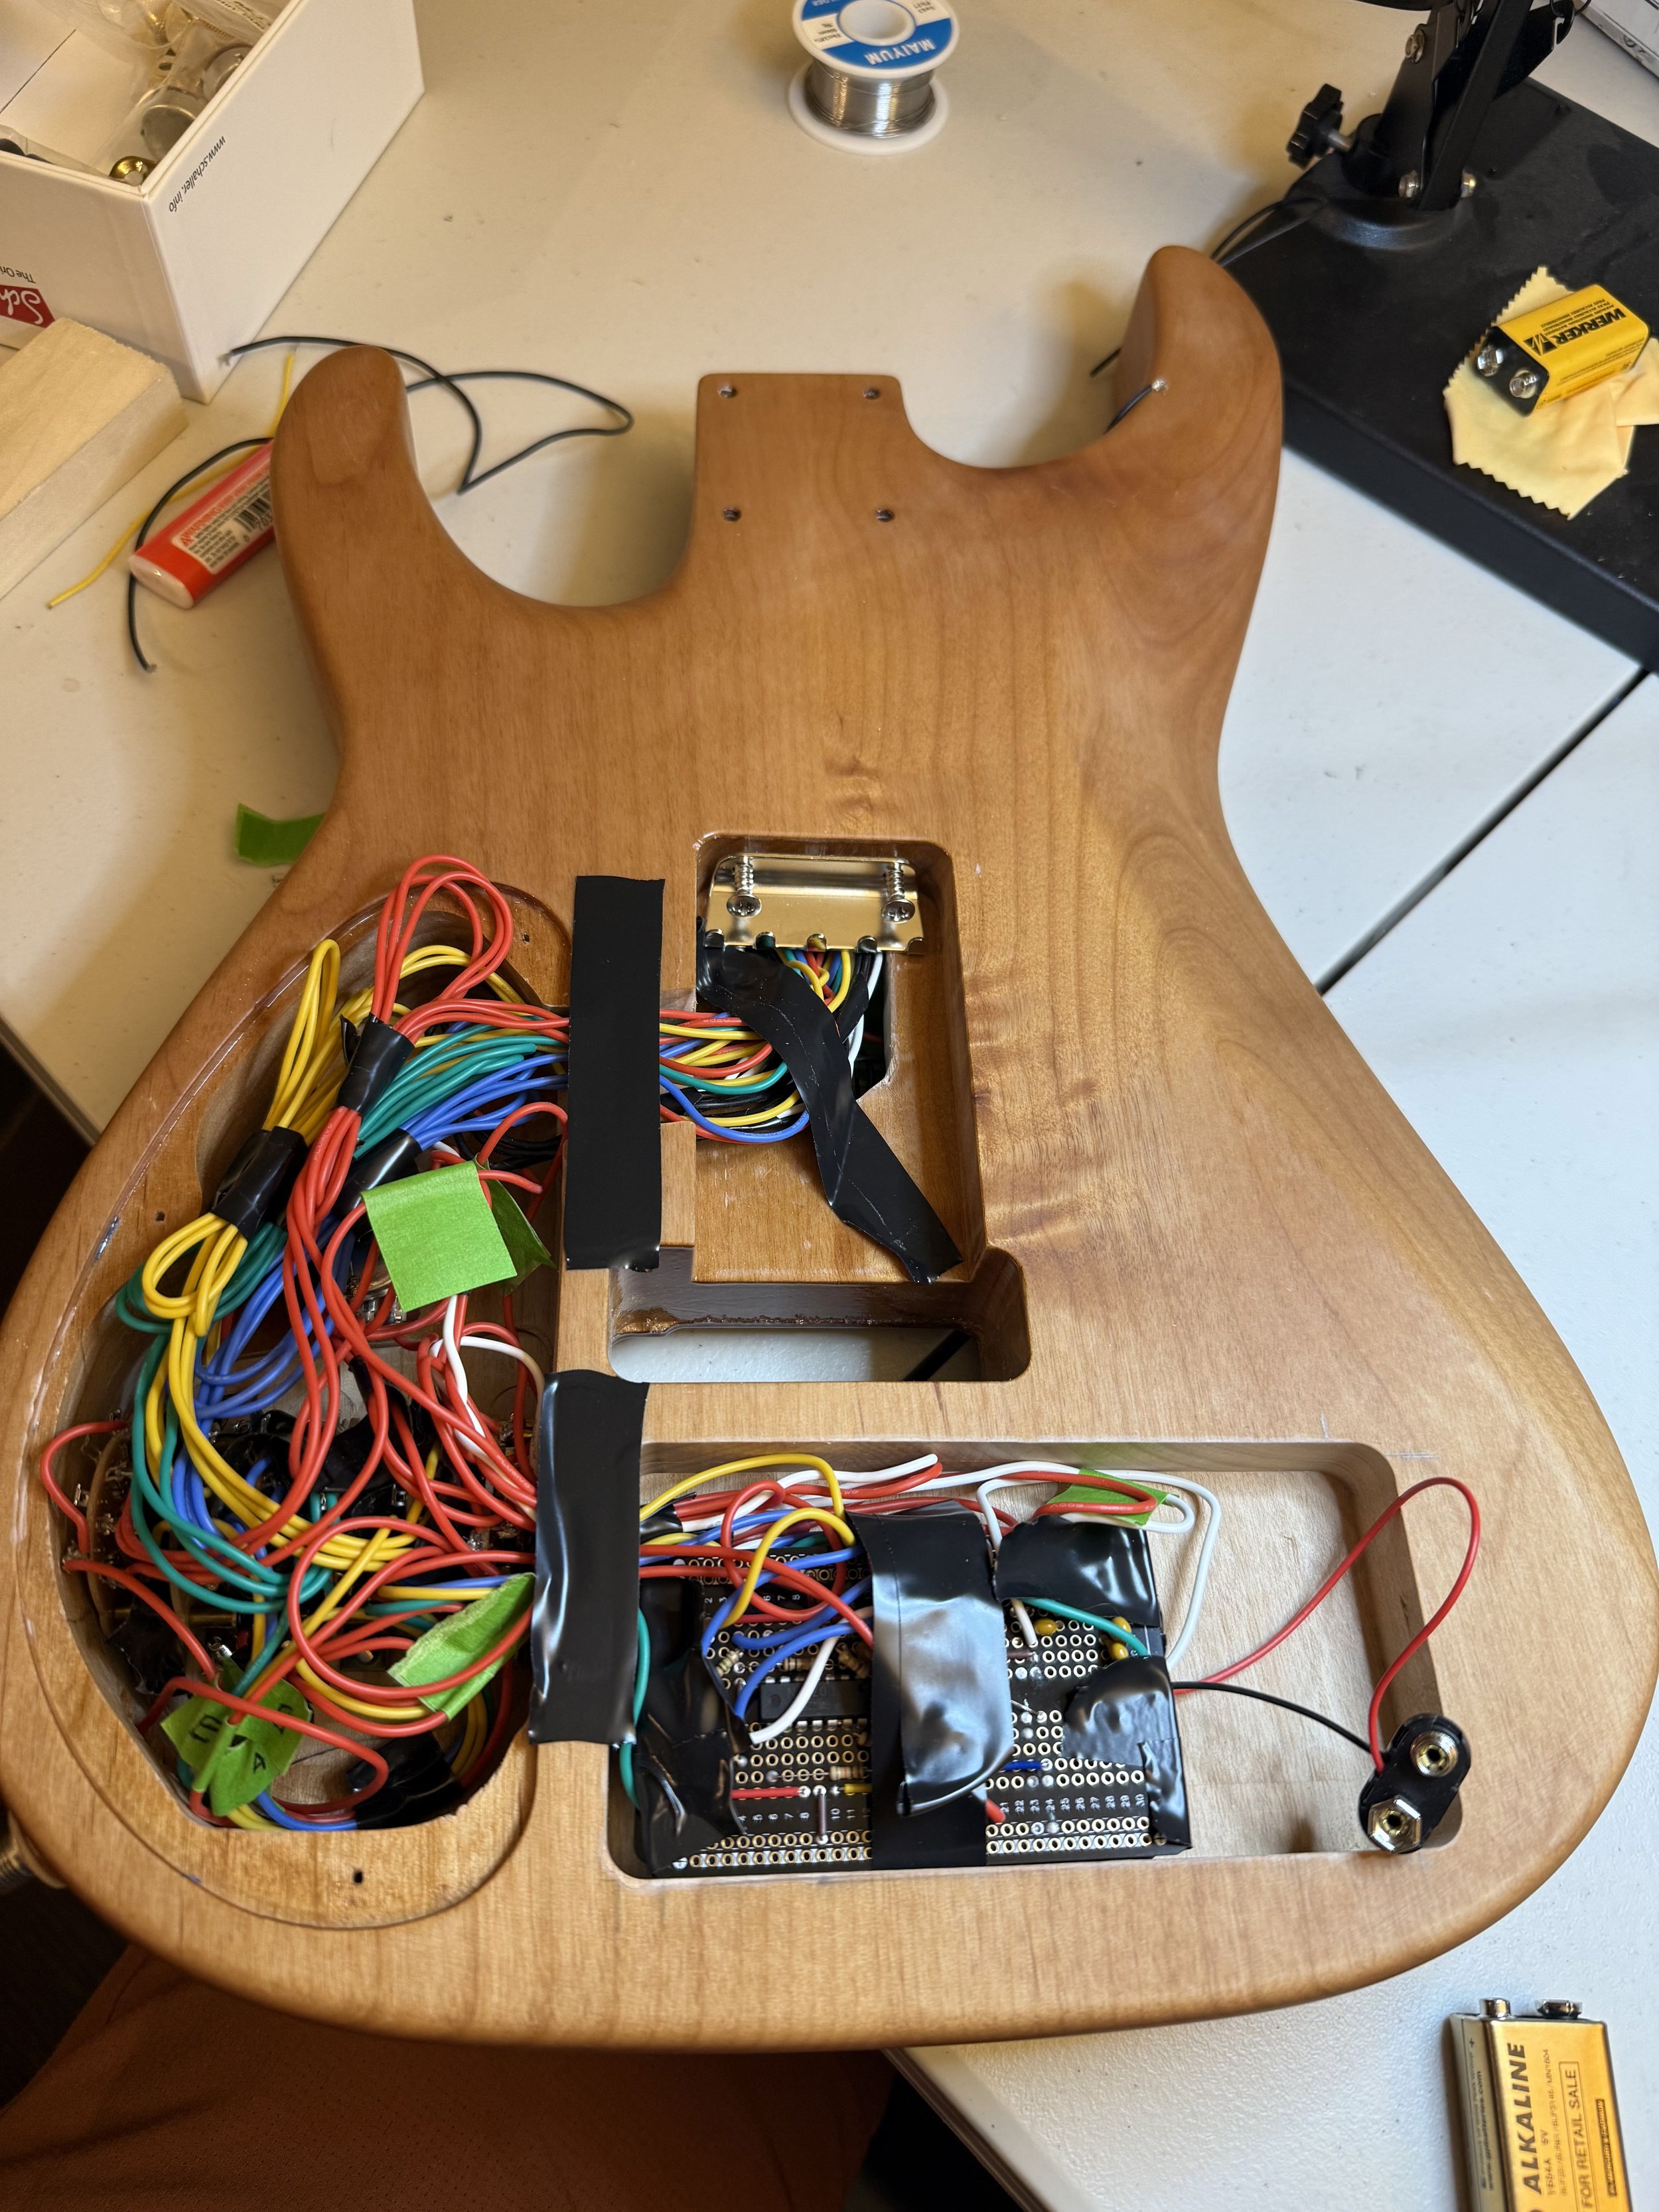
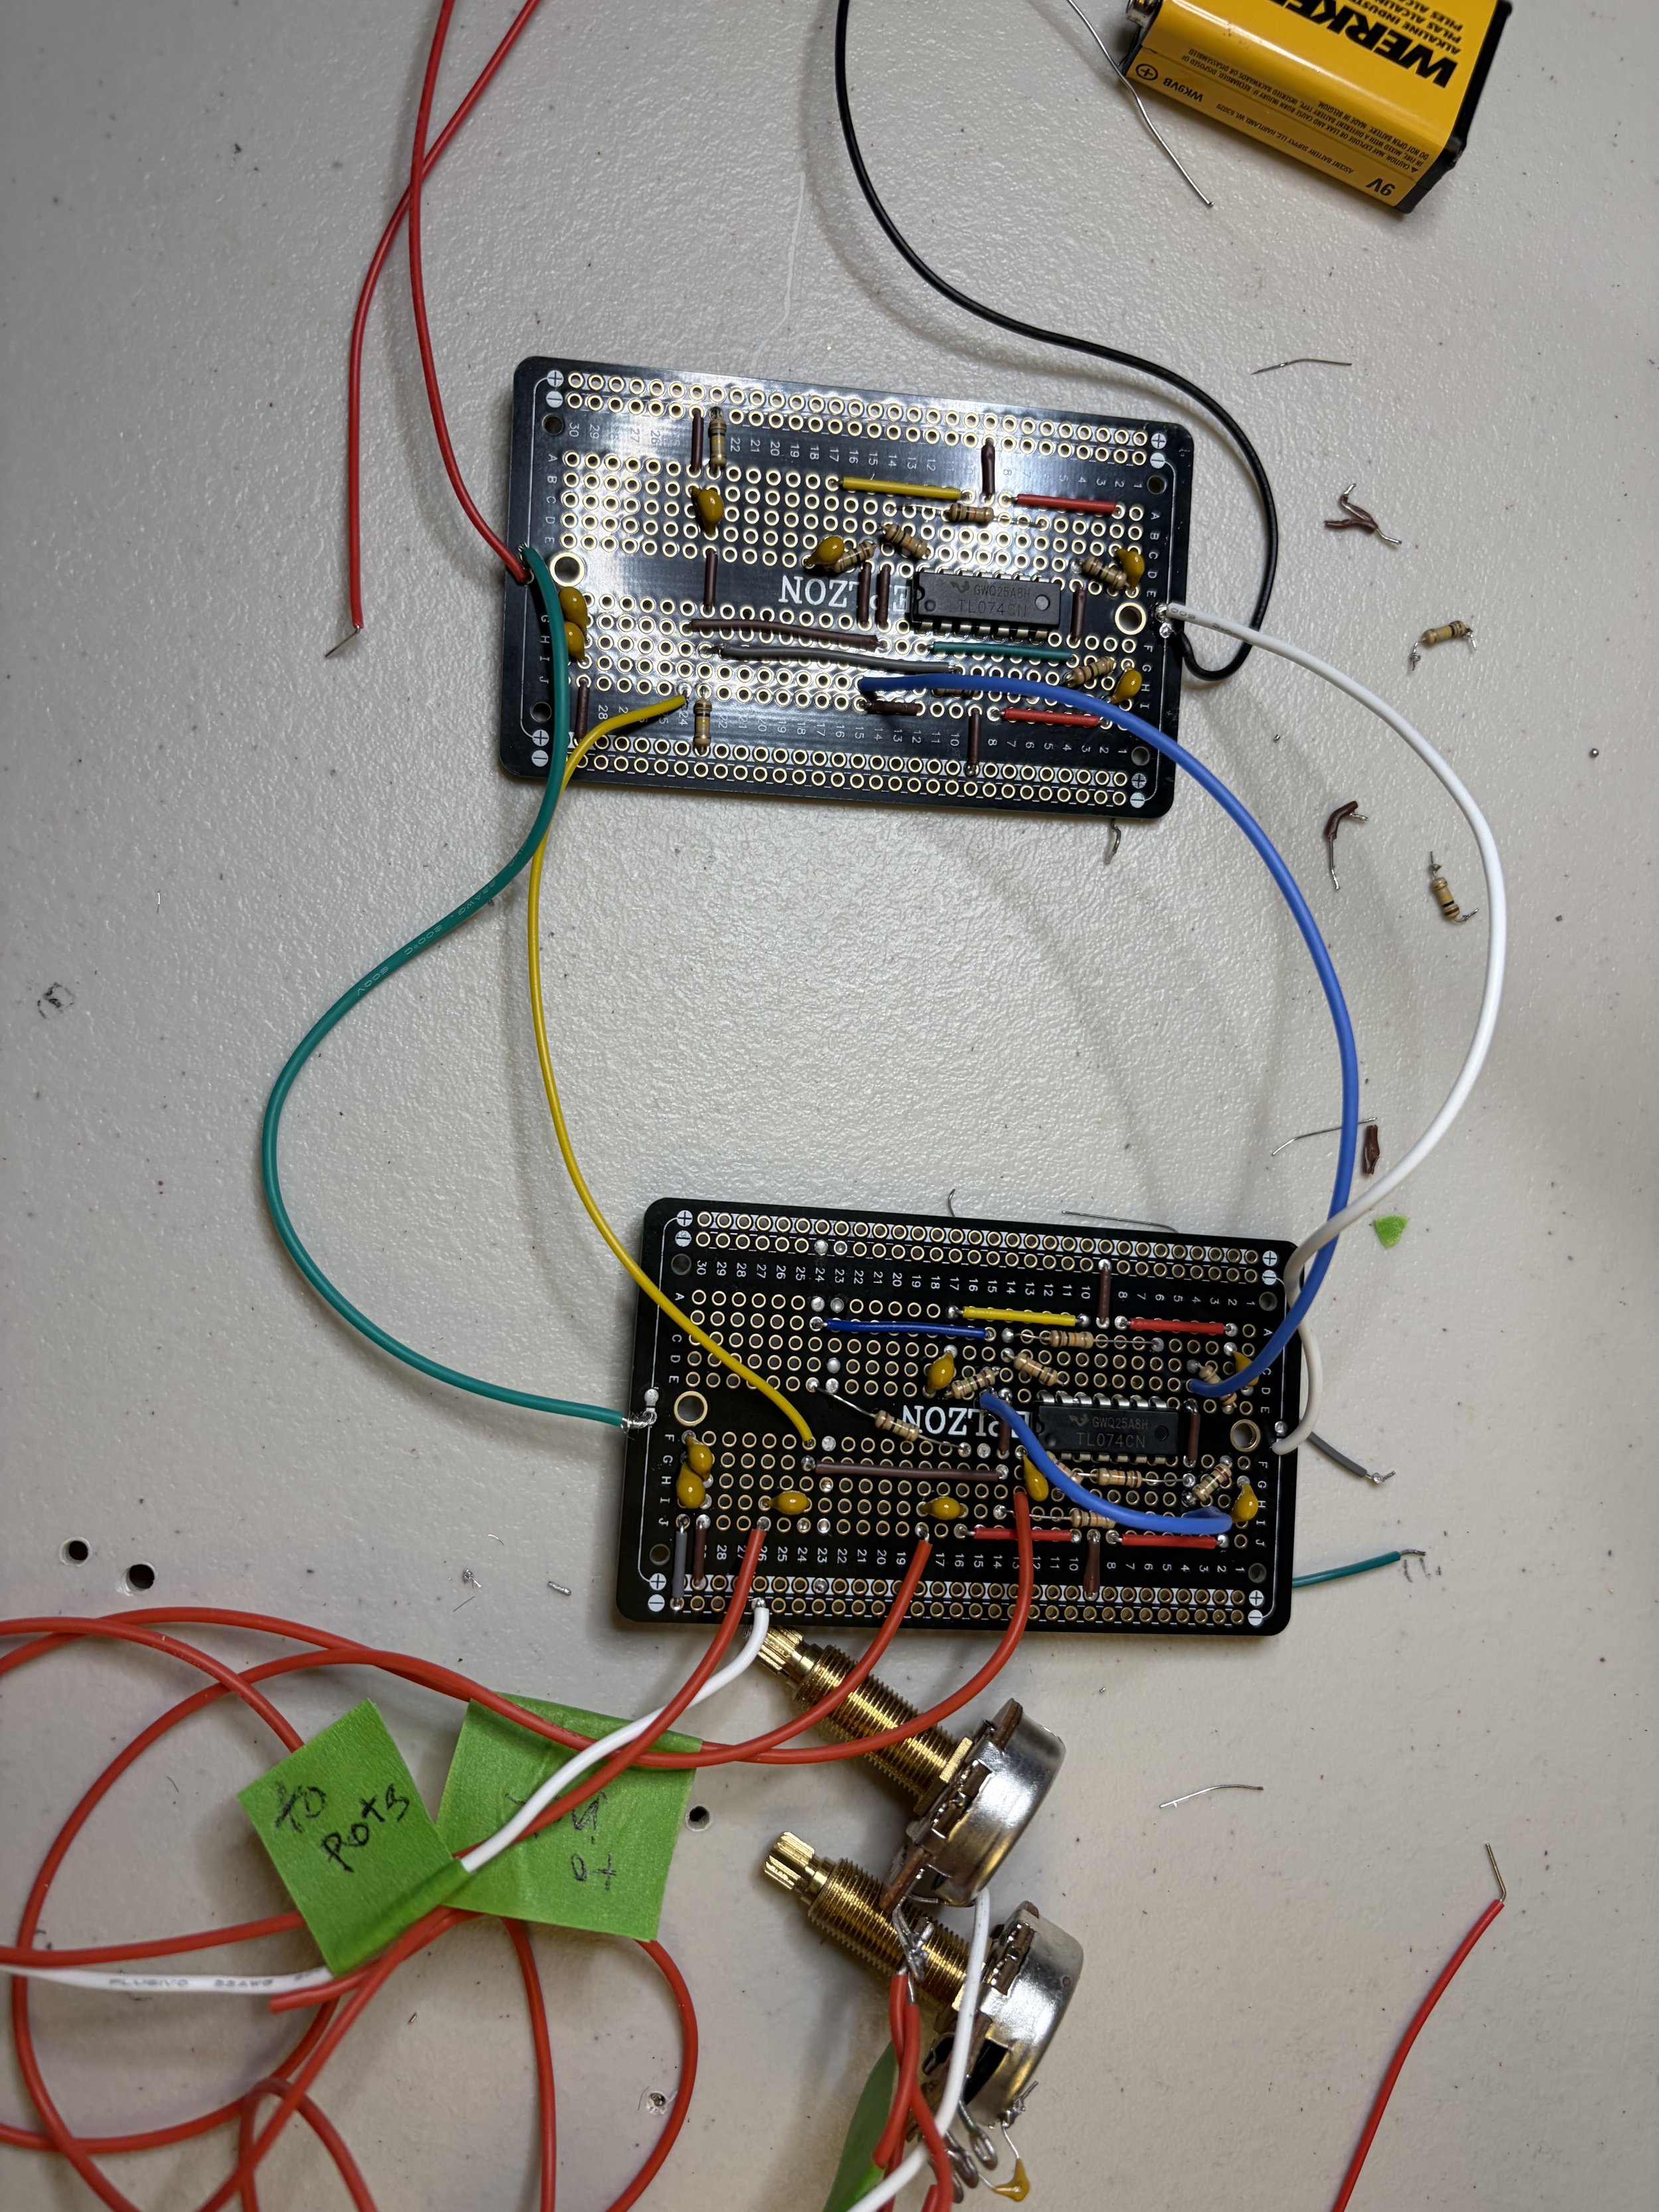
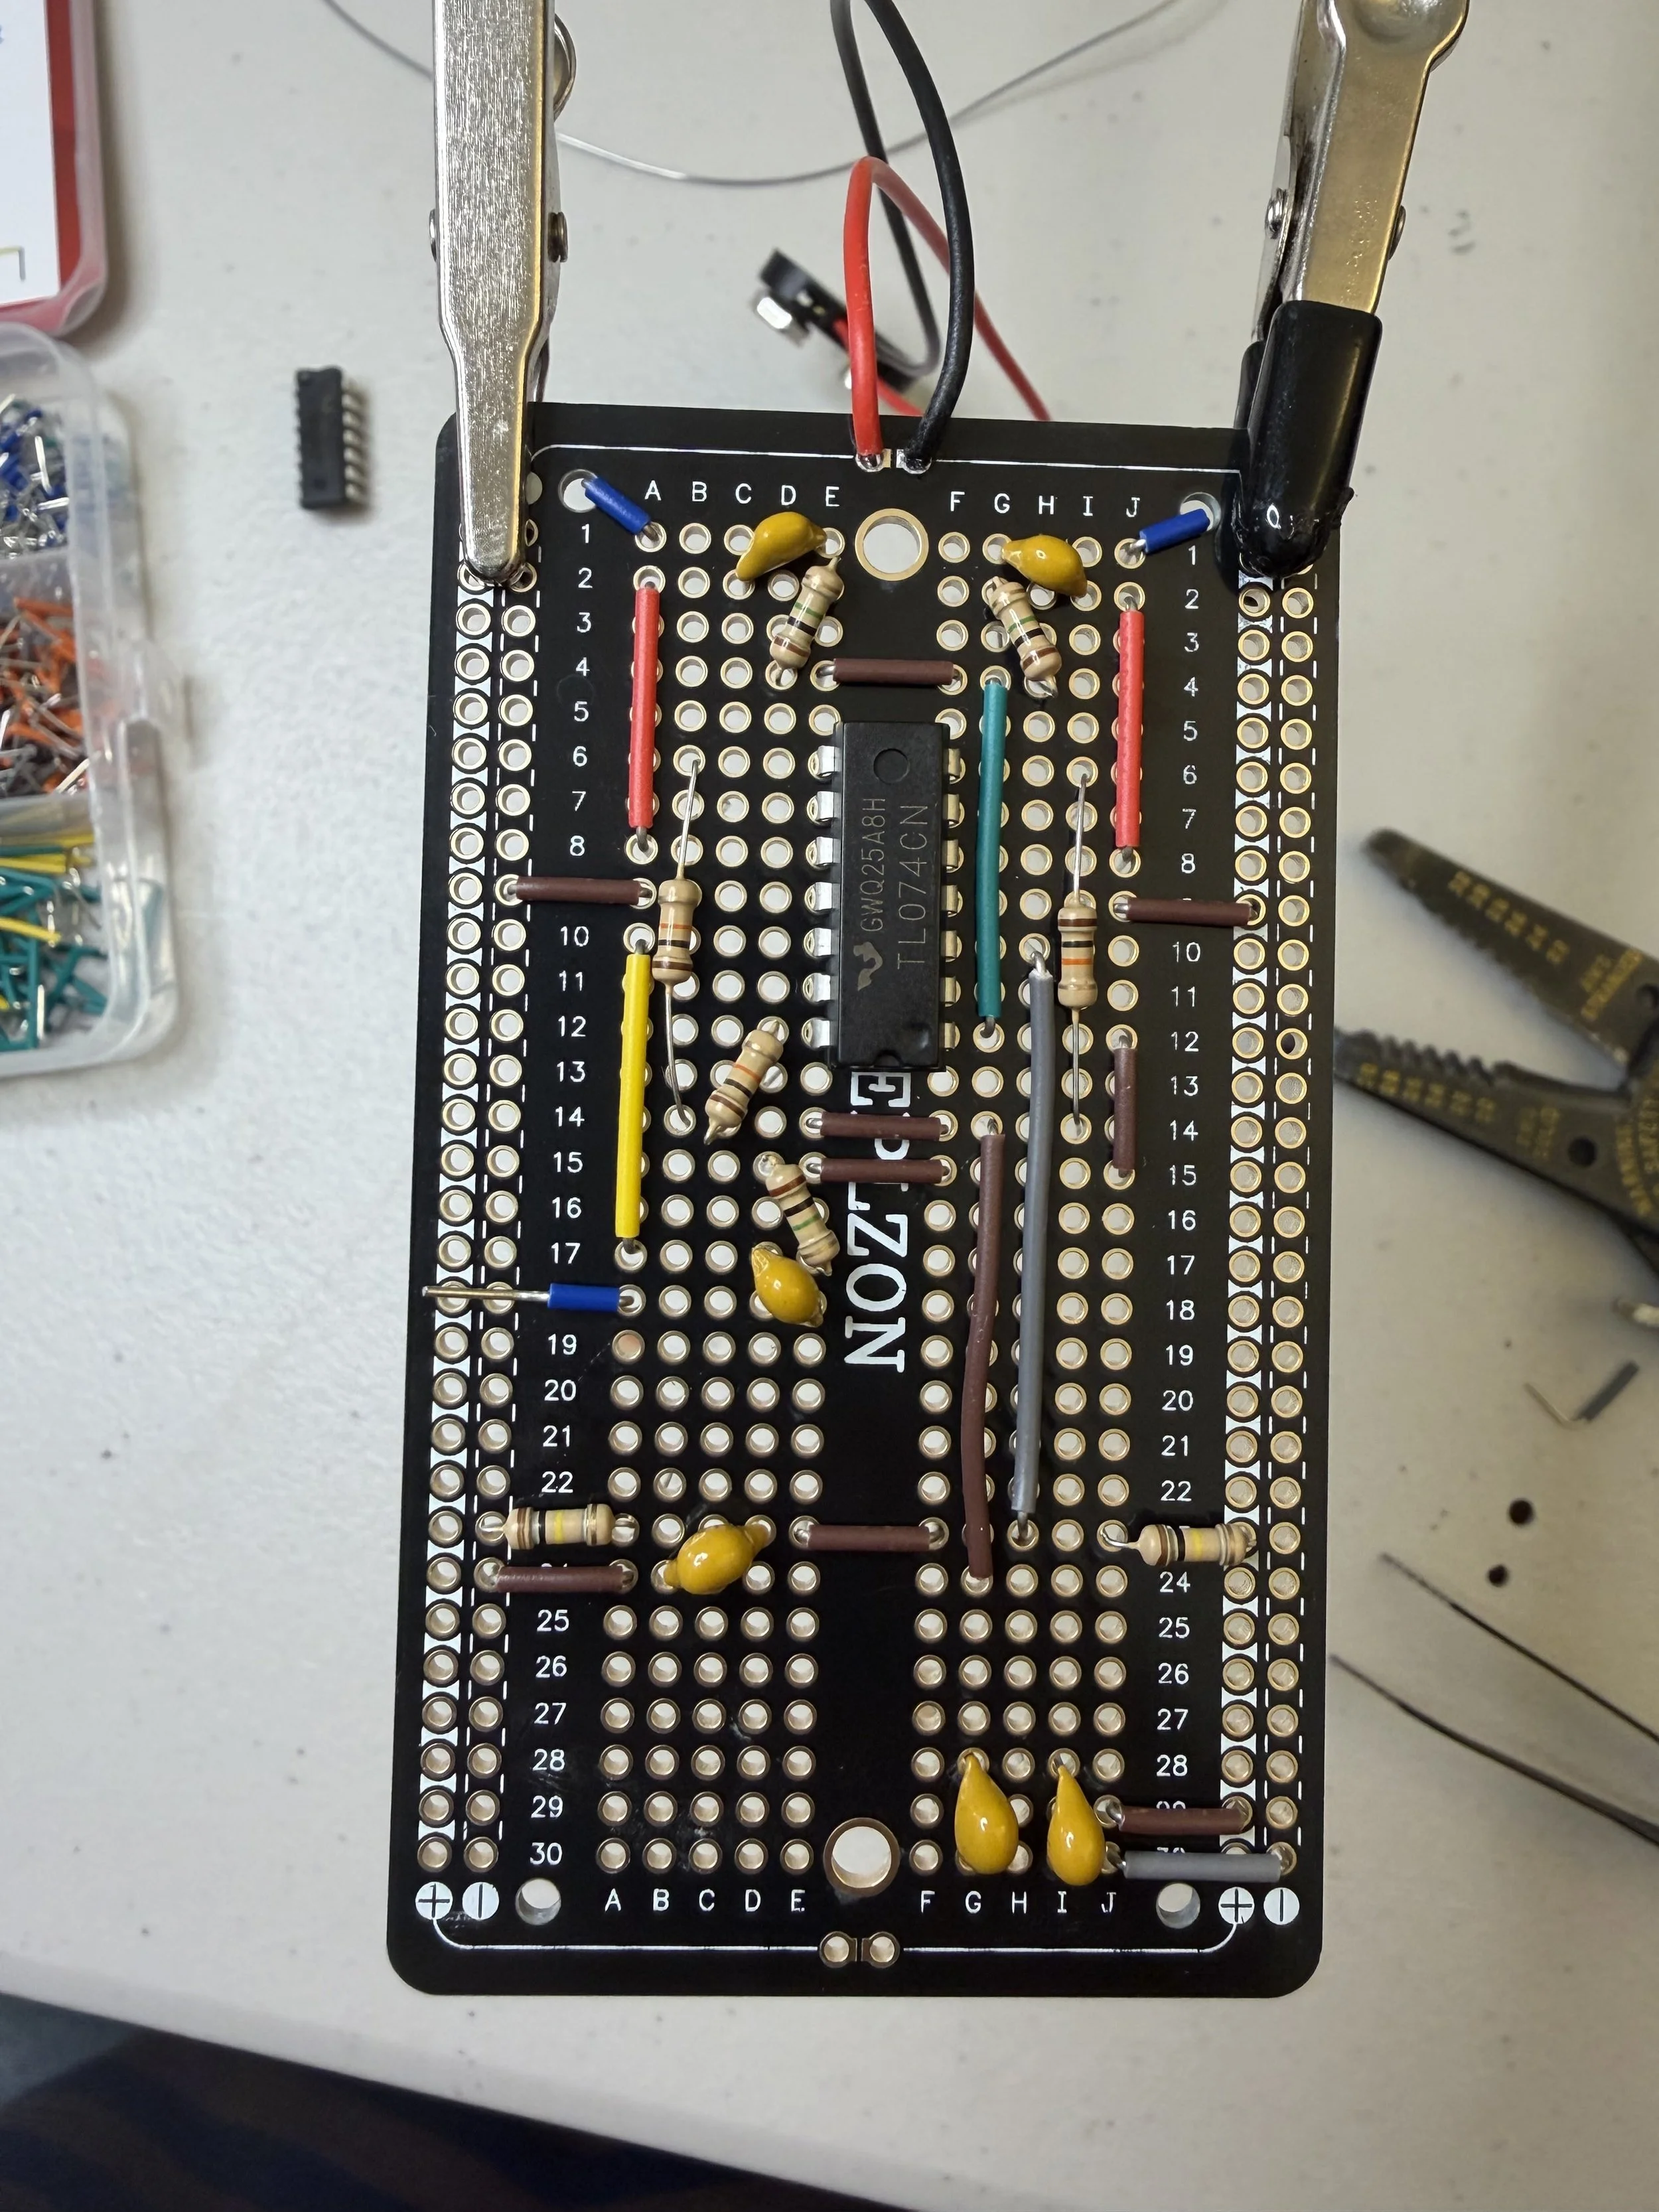
The core of the circuit is active buffering per string using two TL074 chips (8 op-amp circuits total) powered by a 9V DC battery. Each of the 18 hand-wound single-string pickups is a high-impedance source. so tying each of these lines together passively would load them on each other and undesirably alter the tone. So, each string’s selected pickup is run through a buffer which isolates the load on each pickups before the channels get combined. Each op-amp channel is described:
1 - VBIAS via voltage divider using two 100kOhm resistors to isolate a 4.5V reference that the rest of the circuit can load
2 - CH1 buffer configured as a unity gain follower to isolate one string from loading the others
3-7 - Same for CH2-6
8 - Final gain stage configured as a noninverting 6x gain placed after tone/volume pots to correct the /6 loss from averaging 6 channels together, doubling as a low-impedance output driver into the cable.
WHAT’s next?
So, with the guts all sorted out, we just need to fasten everything together. The Chong Instrument R&D team is on a brief hiatus while I finish up my engineering degree and try to start a famous rock band. During this time, my associate Mark Chong has been hard at work assembling.
Once we reconvene, we can closely analyze the tone of the system, the quality of string isolation by the pickups, and workshop different shielding techniques. Another extension we are considering is preserving each individual string signal for some creative DSP processing.